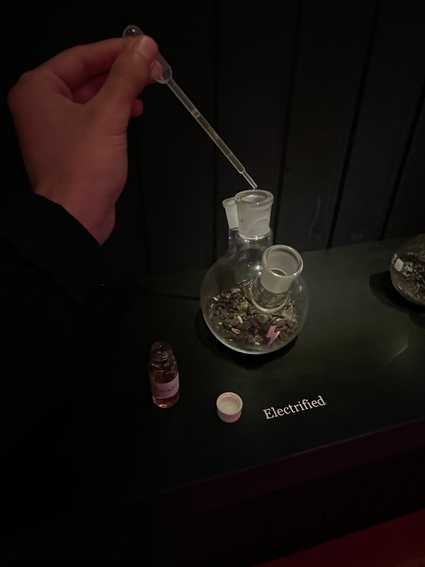
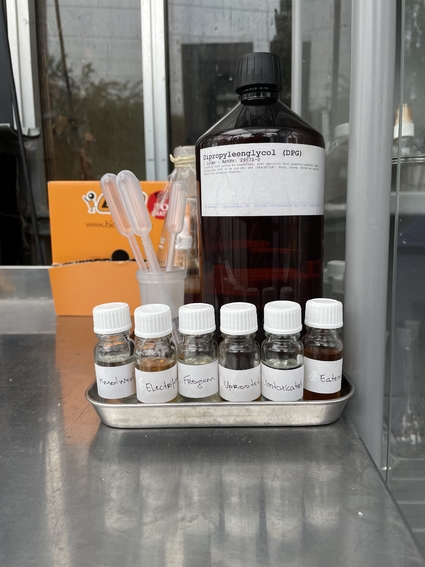
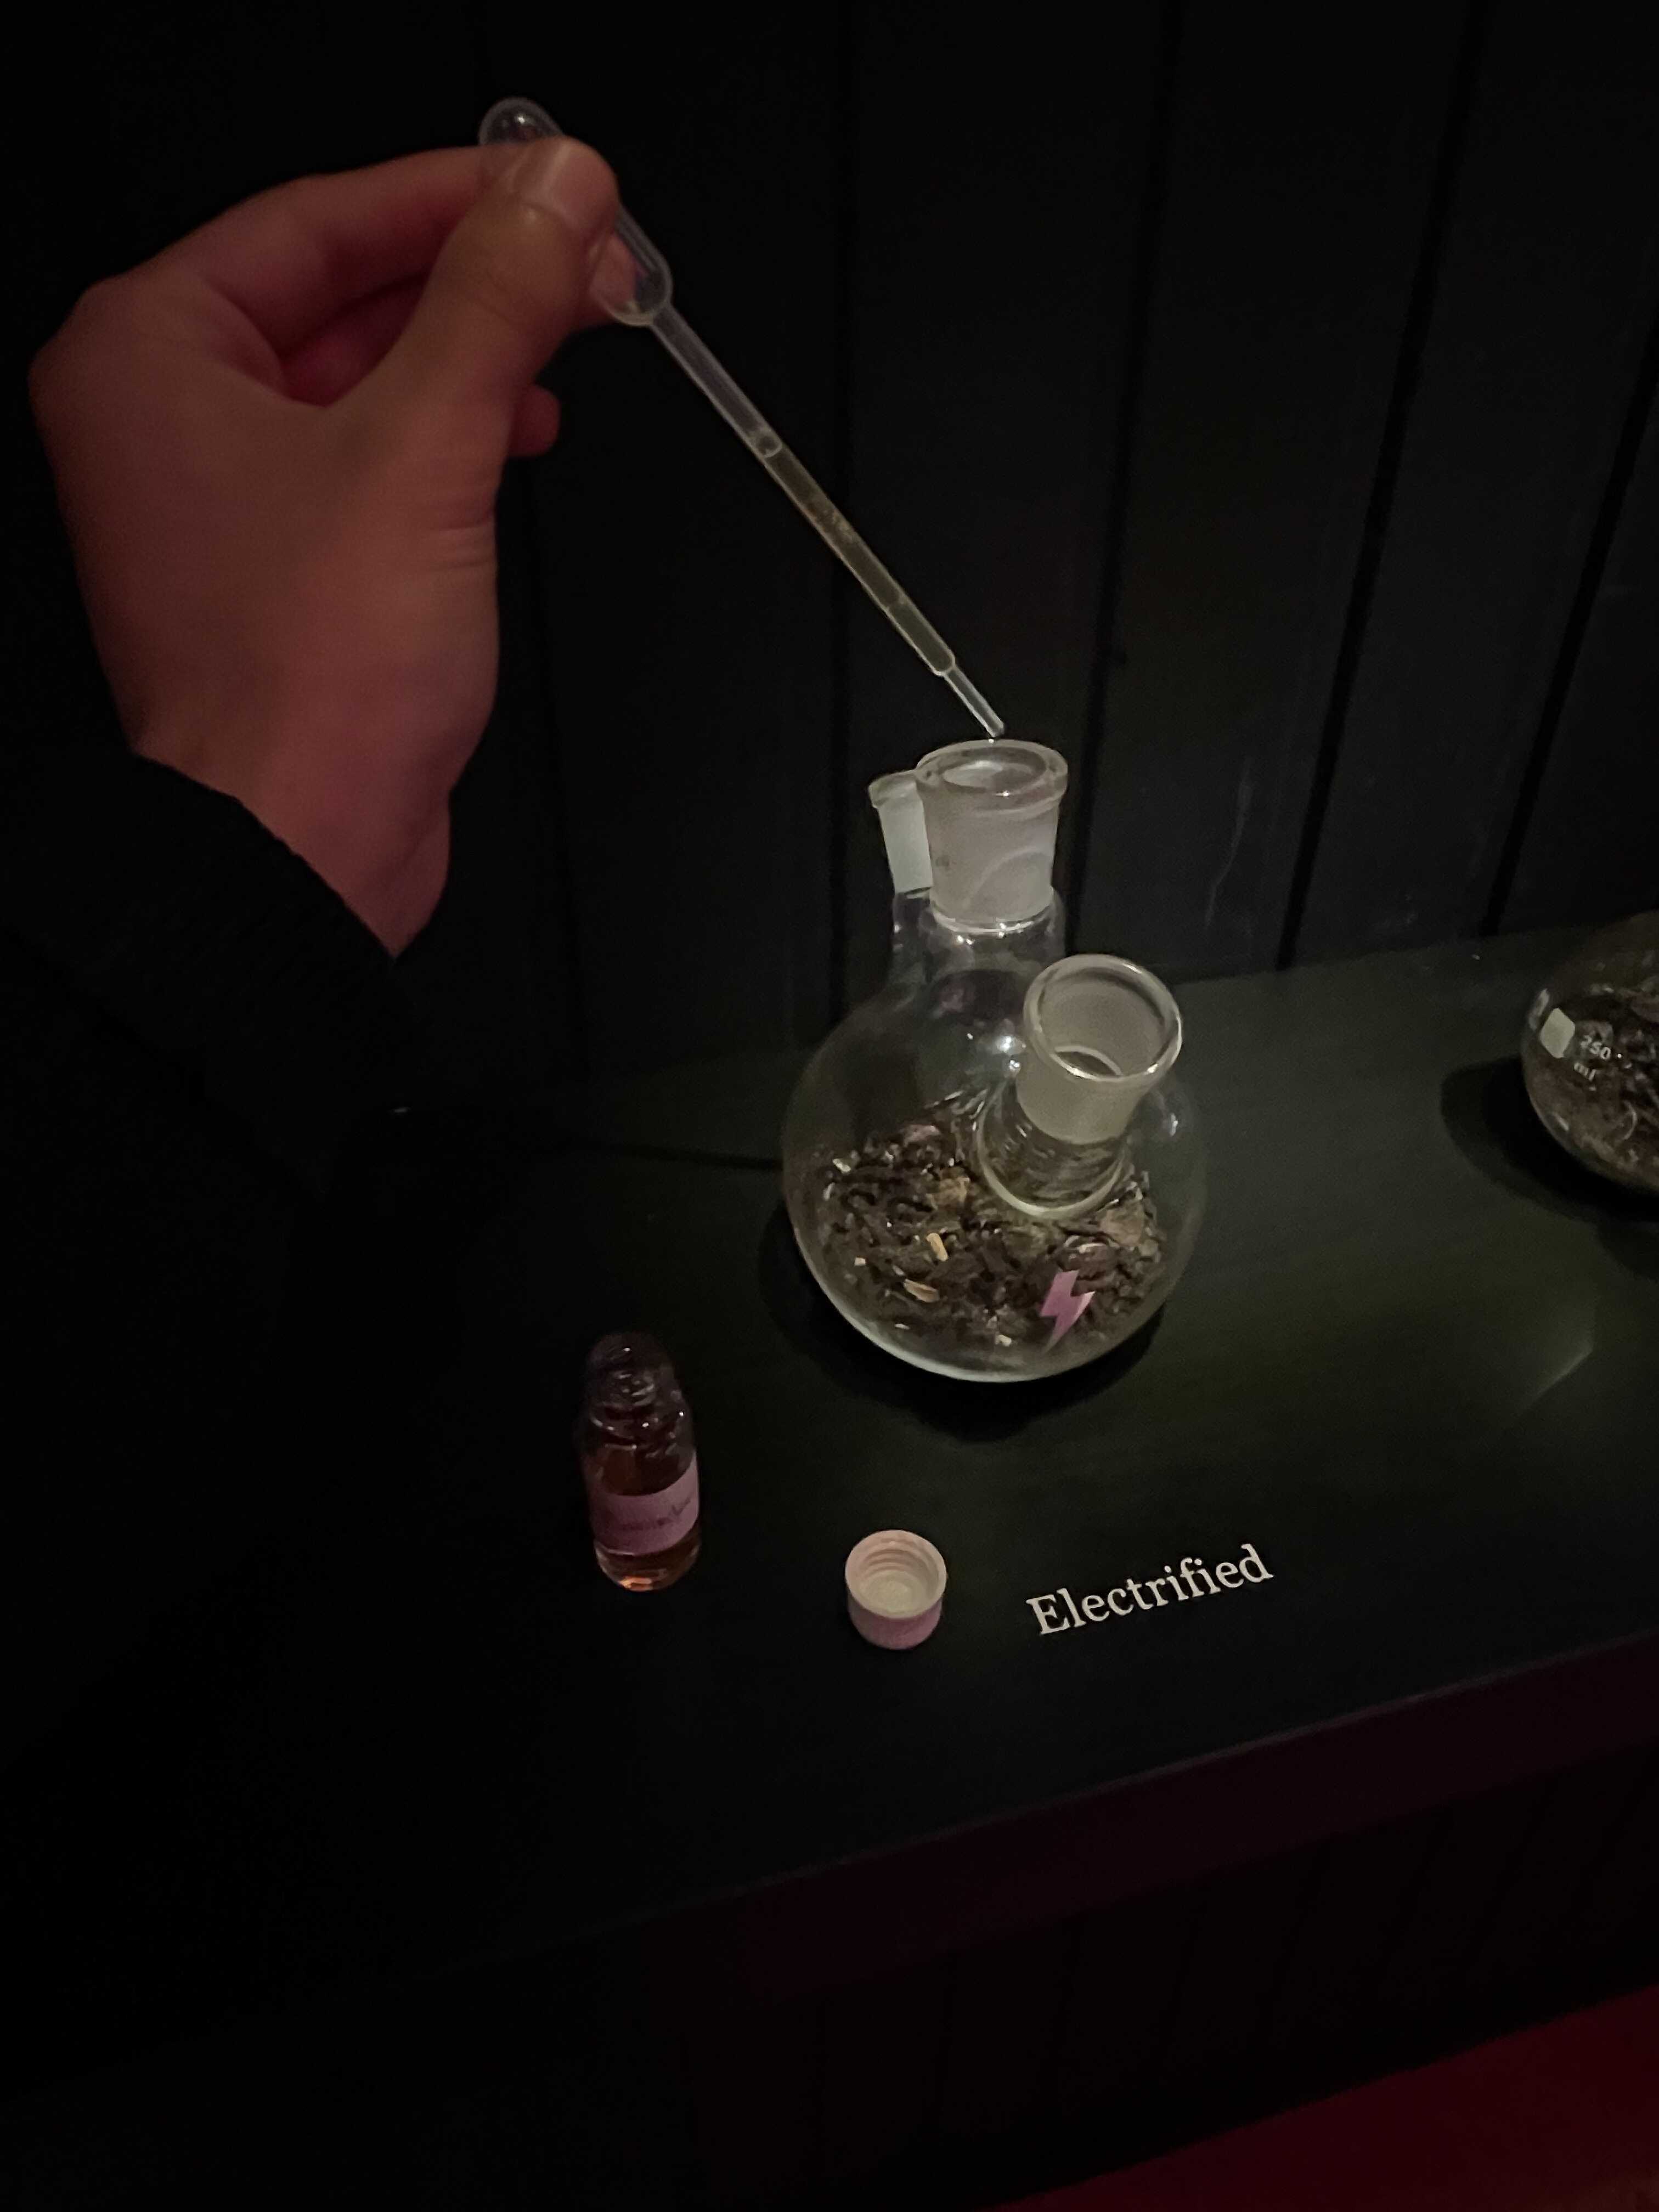
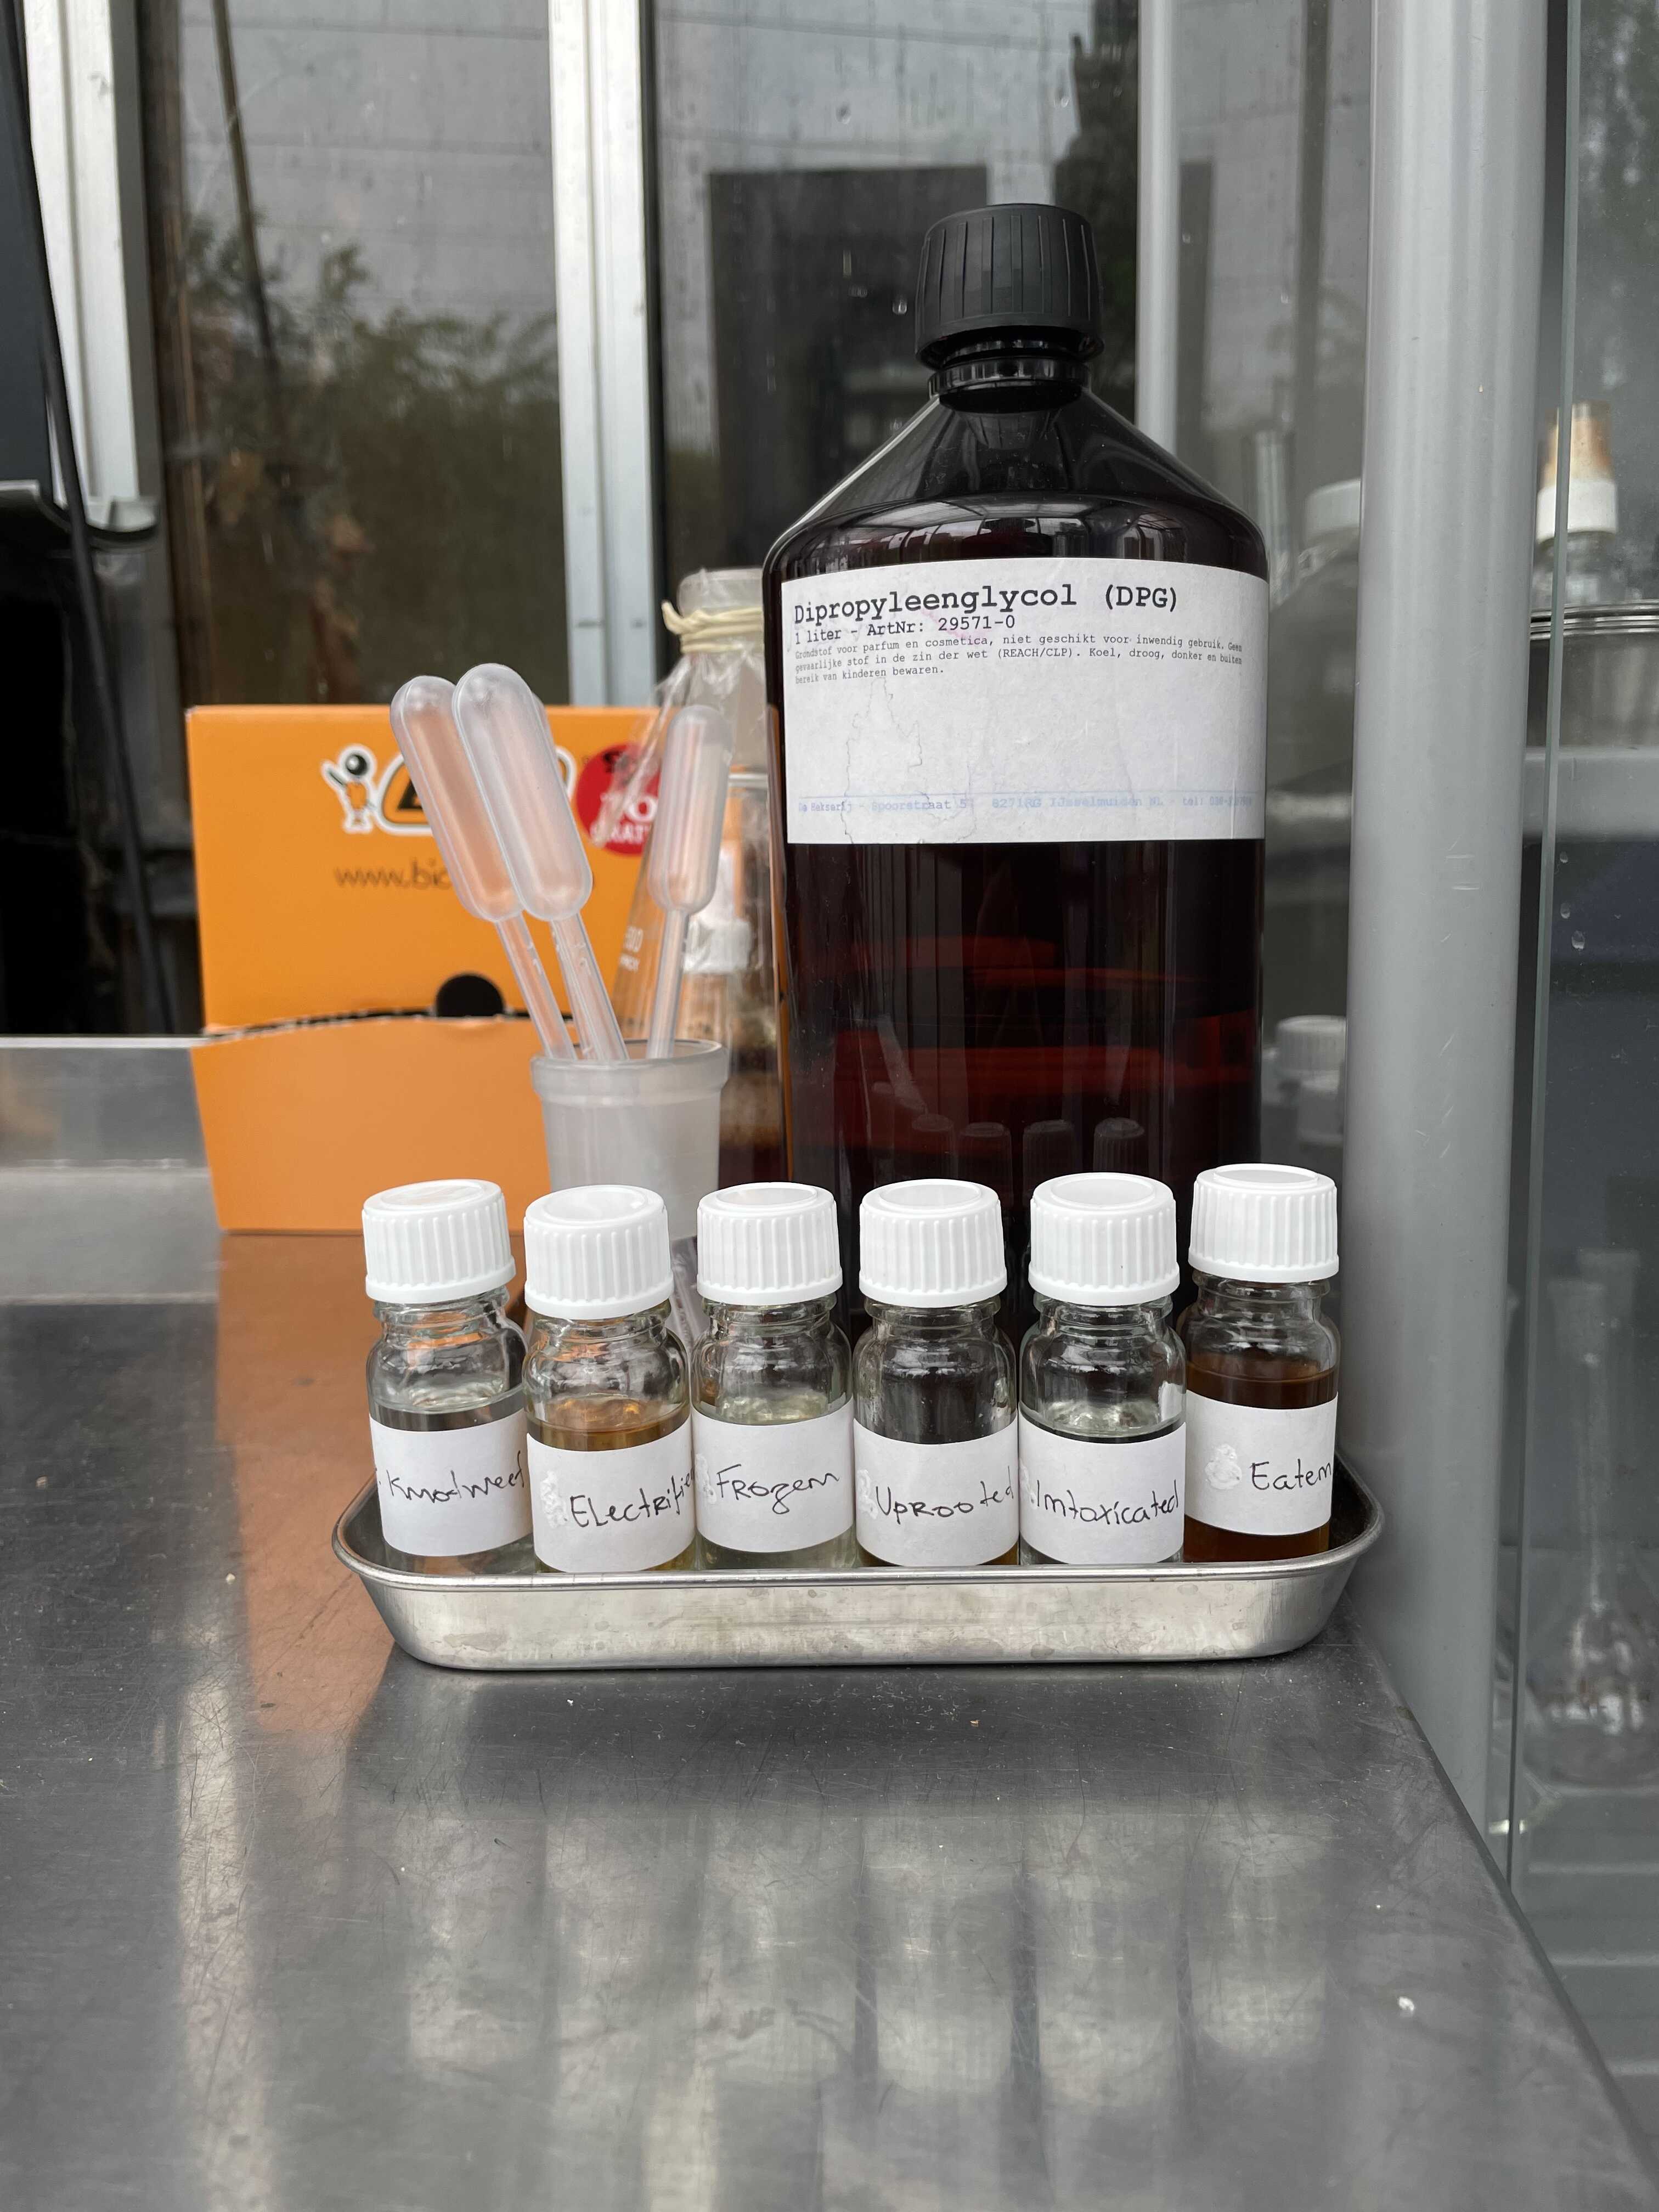
Cleaning and check up
Inside, once a day:
- Turn on 1700 (bar staff)
- With remote, stand directly behind the beamer you want to turn on - Press on, wait 25 seconds
- Press the left arrow twice - then enter
- Press enter again
- Press right
- Press play
- Turn off 0930 (bar staff)
- Press off Button twice (with remote or on the projector)
Make sure there is nothing in the way of the projectors
Outside, every other week:
Clean the window glasses (water and glassex).
Clean the urinals using the proper Uridan solution and the water form the yellow hose.
Water and urine tap
Artist and additional info
Contact Kamiel Rongen
info@hyde-park.nl
0631002184
Contact Peter Moll:
Peter Moll - Scheepstimmerwerk & Metaalbewerking
www.petermoll.nl
06 30521337
Contact Urined (urinals):
Tim Krijnen
info@urined.nl
0644175042
Contact Rear projection screens:
Rwin shop
info@rwinshop.nl
+31 (0)50-3119999
Vibrating speakers' model:
Adin B1BT 10W Vibration Bluetooth Speaker - Black
Equipment for the installation:
Inside:
Equipment for the installation:
Inside:
- 5 beamers: details of the product
- 5 rear projection screens: details of the product
- 5 videos on SD cards.
- 5 x 8GB SD cards
Outside:
- 5 urinals details of the product and PDF of the 4000 model
- material for cleaning the urinals: Urined
- 2 water tanks + 1 milk tank
- lamps for the installation: LED, GU10, 2700K
Cabling:
- 5 x 5m C7 power cables
Installation
How to make the boards for the projectors
- Cut a piece of wood board to 35cm x 20cm and a minimum of 2 cm
- Print out the InDesign file and fold the top line over the edge of the board. Tape the piece of paper down making sure it is flat and has no folds bumps. Drill the 2 securing holes up the top with an 8mm size drill bit. Also, drill the centre projector securing hole with the same size drill bit. After this change the drill bit to a 25mm countersink drill bit.
- Mark out the centre of the two circles on the InDesign paper that will be used for the back feet. For the front 2 feet positions, mark out the centre then measure 5 millimetres towards the lens and make a mark. This mark will be the to drill the 25mm countersunk drill bit.
- Drill all holes at the correct marks (back legs in the centre and front legs in-front of centre) and drill down 3-5mm.
How to attach the boards to the wall
- Drill the centre securing hole (that secures the projector) with an 8-10mm drill bit and move the drill from side to side to create a longer hole for the bolt. This will allow the angle of the projector to still be secured properly with the English thread bolt.
- Attach the projector to the board using an English thread bolt. Place the board with the projector on the shelves at the prefered location. Make sure the picture is completely overlapping the screen on all sides by at least 3cm.
- Once you have the correct location mark the location of the securing holes on top of the board with a drill or pen. Drill out these 2 holes and attach the board to the shelves using a KEF 8.8 bolt and correct nut size.
- After this, you must drill out the 2 bottom securing holes at the same location as the top ones on the opposite side of the board
- Now you must create the feet for the projector. All the back feet will be the same size as 1.5cm with a small angle of about 4-6mm.
- The front legs are made from 25mm conduit connectors. Cutting them is easiest with a hacksaw.
- The front legs will change for each projector and require some guessing and checking. They will require a similar angle but because of the specific angle that is required, corrections have to be made with washers in between the wood and shelf on the front 2 legs.
How to attach the boards to the projector
- Put an English thread bolt through the centre hole securing hole with as many washers as you need. The hole inside the projector can screw in about 2 - 2.5 cm, so the number of washers and size of the English thread bolt will depend on the angle that the projector needs to be placed at. Each projector will have a slightly different angle so exact copies of previous work will not guarantee success.
How to power the projector
- The cable must be wrapped around the English thread bolt before being plugged into the projector to ensure the cable does not get pulled out.
- Then find the best route for the cable to follow with the least amount of visibility with cable ties and gaffer tape if necessary
Where to find the files
- Indesign file
- File01 > Kantoor > 0-stichting > 0-Tentoonstellingen > 0-Pure Gold - Kamiel Rongen > Projector File with correct Measurements.indd
- Movie files
- File01 > Kantoor > 0-stichting > 0-Tentoonstellingen > 0-Pure Gold - Kamiel Rongen > Updated video files
Another option
- Using the same process to make the board and attaching the projector you can also make a very modular system.
- First, secure the projector flat on the board using the English thread bolt
- Then secure the board to the shelf with the top two securing bolts. Drill out your bottom two securing holes making sure you aim for the centre of the shelf.
- That the board of and switch your drill bit to a 10mm. Drill out the top two holes and move the drill from side to side as you did with the projector securing hole in the previous option.
- Then put the 8cm Unbrako A2-70 bolt through the front (lens side), two board, securing holes with a washer and bolt securing the bolt to the board and one extra bolt and washer in between the wood and the shelf. Then using a bolt and washer on the back side secure the board at the correct angle making sure the image is over all sides of the screen.
- Adjustments can be made by loosening the nuts on either side of the metal shelf.
Outside:
5 urinals details of the product and PDF of the 4000 model
- material for cleaning the urinals: Urined
- 2 water tanks + 1 milk tank
- lamps for the installation: LED, GU10, 2700K
details of the product
Cabling:
- 5 VGA cables (beamers)
- 5 extension cables for jack (vibrating speakers)
- 5 USB charger (vibrating speakers)