
Please visit this Youtube video if you would like a visual guide.
Please visit this link if you need the user manual.
or This one
You should install an Ai plugin Download it here
Prepping images:
The vinyl cutter will only cut lines. This means you must outline all your texts/shapes in Illustrator or they will not print.
How to?
Select the image/type > type > create outlines. Choose no fill, and a black 0.01 pt stroke outline.
To make the weeding process easier you can add a box around each design with the same properties mentioned above.
!!The maximum width of the vinyl cutter is 60 CM!!!
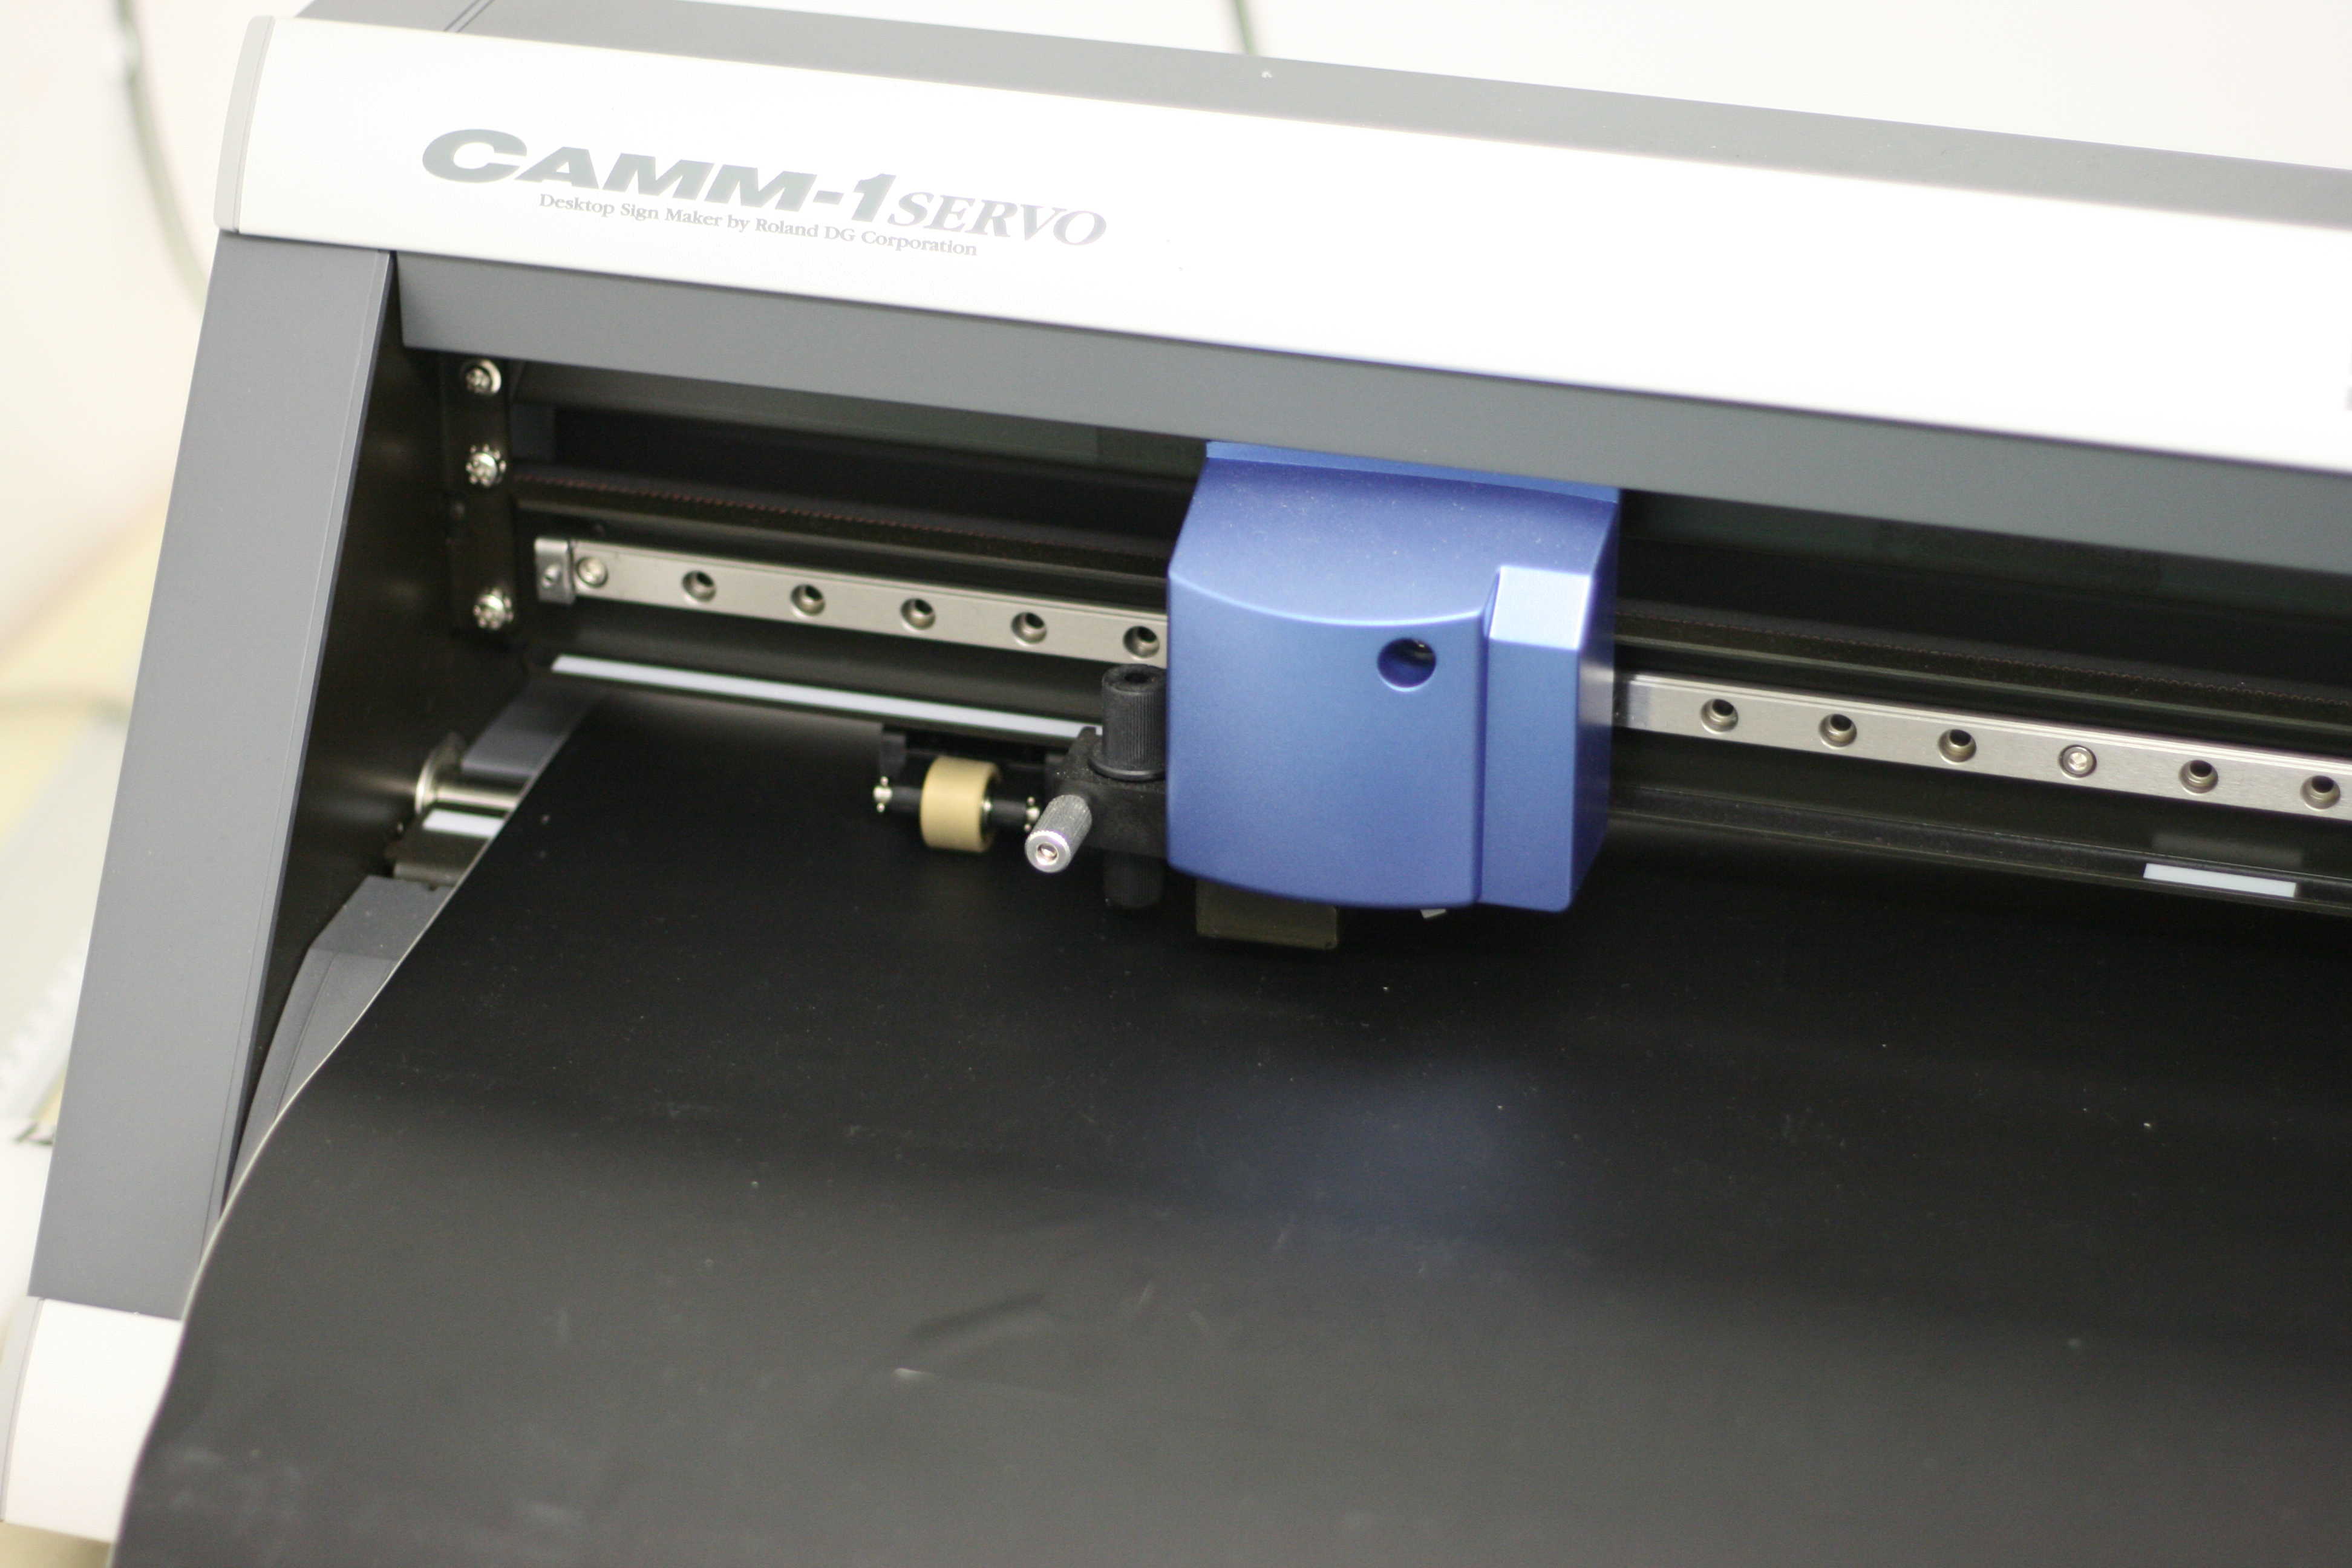
Prepping the vinyl plotter:
Roll:
Use the lever on the right-hand side to release the vinyl roll. To load a new roll, place it behind the machine in its intended spot and guide the sheet through the machine from the back over the white marked line. Make sure the vinyl sheet goes past the rollers on both sides. You may adjust the rollers by moving them to the indicated white marks on the plotter. If the rollers are not placed on the indicated white marks, the machine will not register the sheet. Once placed, use the lever again to secure the sheet. Once loaded, the plotter will ask you if the vinyl loaded is a roll, piece or edge. Choose roll using the arrows and click enter. The screen will then tell you how wide the sheet is.
Piece:
Use the lever on the right-hand side to release the vinyl roll. To load a piece, place the sheet from the front. Make sure the vinyl sheet goes past the rollers on both sides. You may adjust the rollers by moving them to the indicated white marks on the plotter. If the rollers are not placed on the indicated white marks, the machine will not register the sheet. Once placed, use the lever again to secure the sheet. Once loaded, the plotter will ask you if the vinyl loaded is a roll, piece or edge. Choose piece using the arrows and click enter. The screen will tell then you how wide the sheet is.
Open file on computer attached to vinyl cutter:
The vinyl cutter is currently connected to an intern computer in the graphics room.
Open your file in Illustrator. Once the printer tells you the the size of your vinyl sheet (look at the measurements on small screen on printer after the loading process), adjust your artboard to correlate with the width of the vinyl sheet. Adjust the vertical length as well.
From the Roland Cut Studio window in Illustrator, press the print button (the button with just a printer icon). A second window from an application outside of Illustrator will ask you to confirm the cut.
!If you do not see this window, go to Window > Extensions > Roland CutStudio Plug in and the option to 'print' will appear.
After the cut
Press and hold the down arrow to give yourself plenty of the sheet so you can cut your print off. To return the sheet, press and hold the up arrow key.
Weeding:
Remove the negative space from the vinyl including the inside of letters with a knife. When taking out large pieces of the vinyl, roll the sticky part on itself so as to not get stuck on the letters. Go slow!
Transfer foil:
Unroll the transfer foil (transparant) and place vinyl on sticky side. Burnish hard to get letters/shape to adhere to the foil.
Remove the back paper, so the letters/shape is left behind on the transfer foil.