Folder organisation
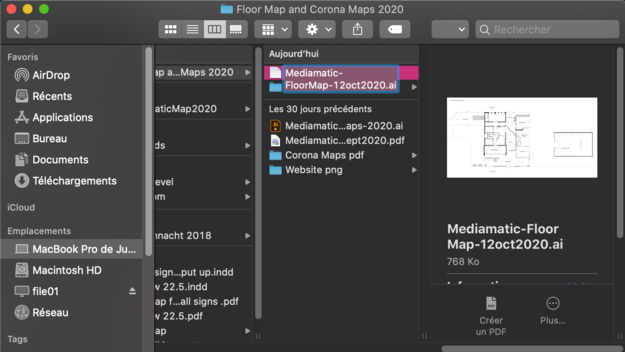
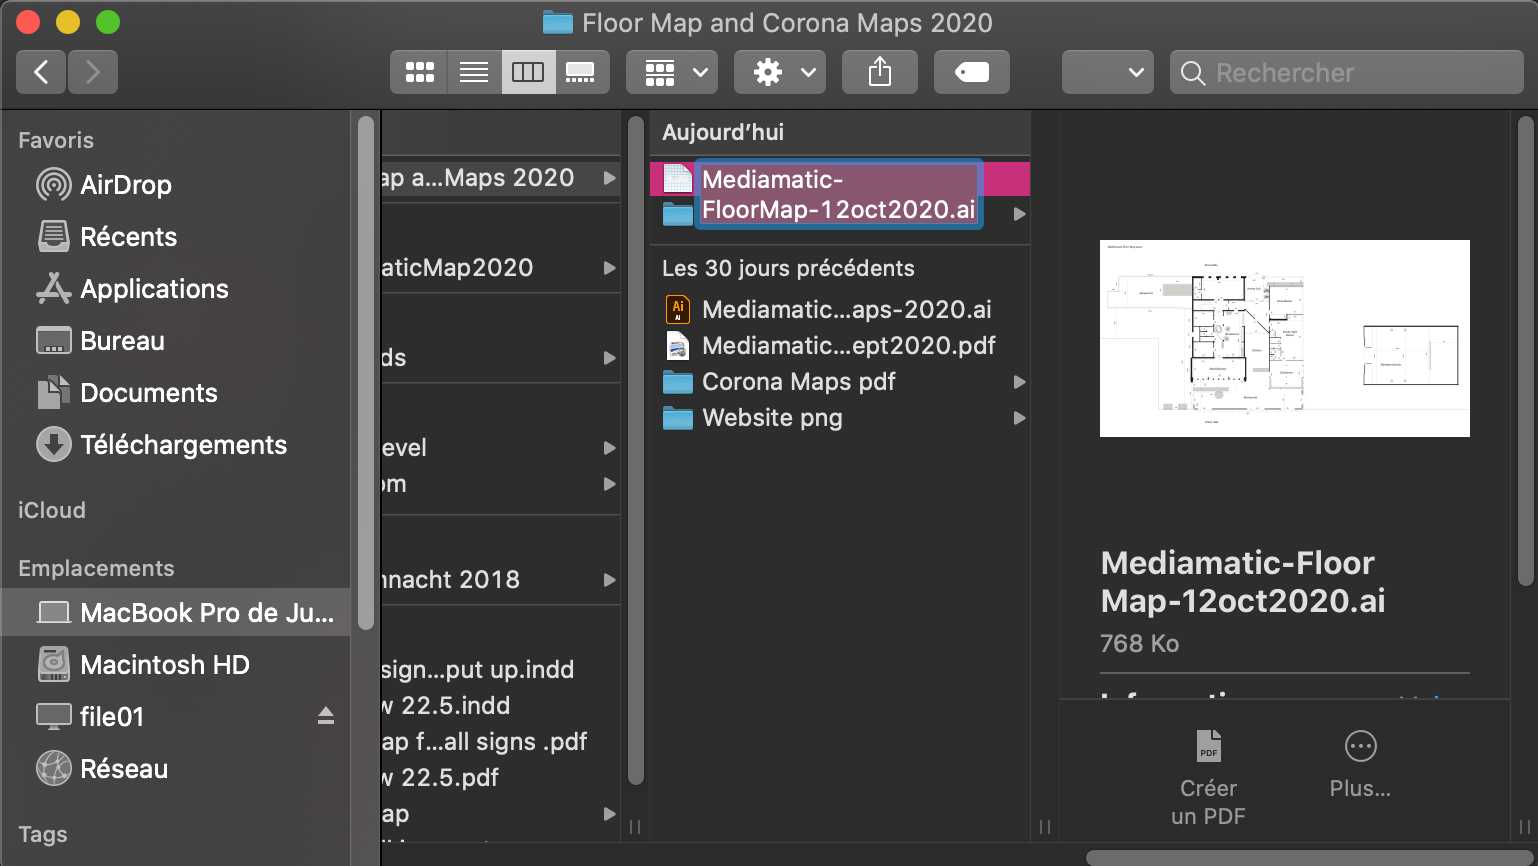
1. Go to Kantoor -> 0-Stichting -> 0-Graphic Design -> 08 - Maps / Plattegrond -> Floor Map and Corona Maps 2020
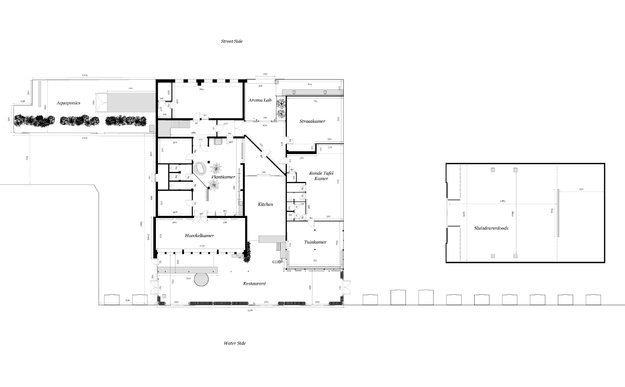
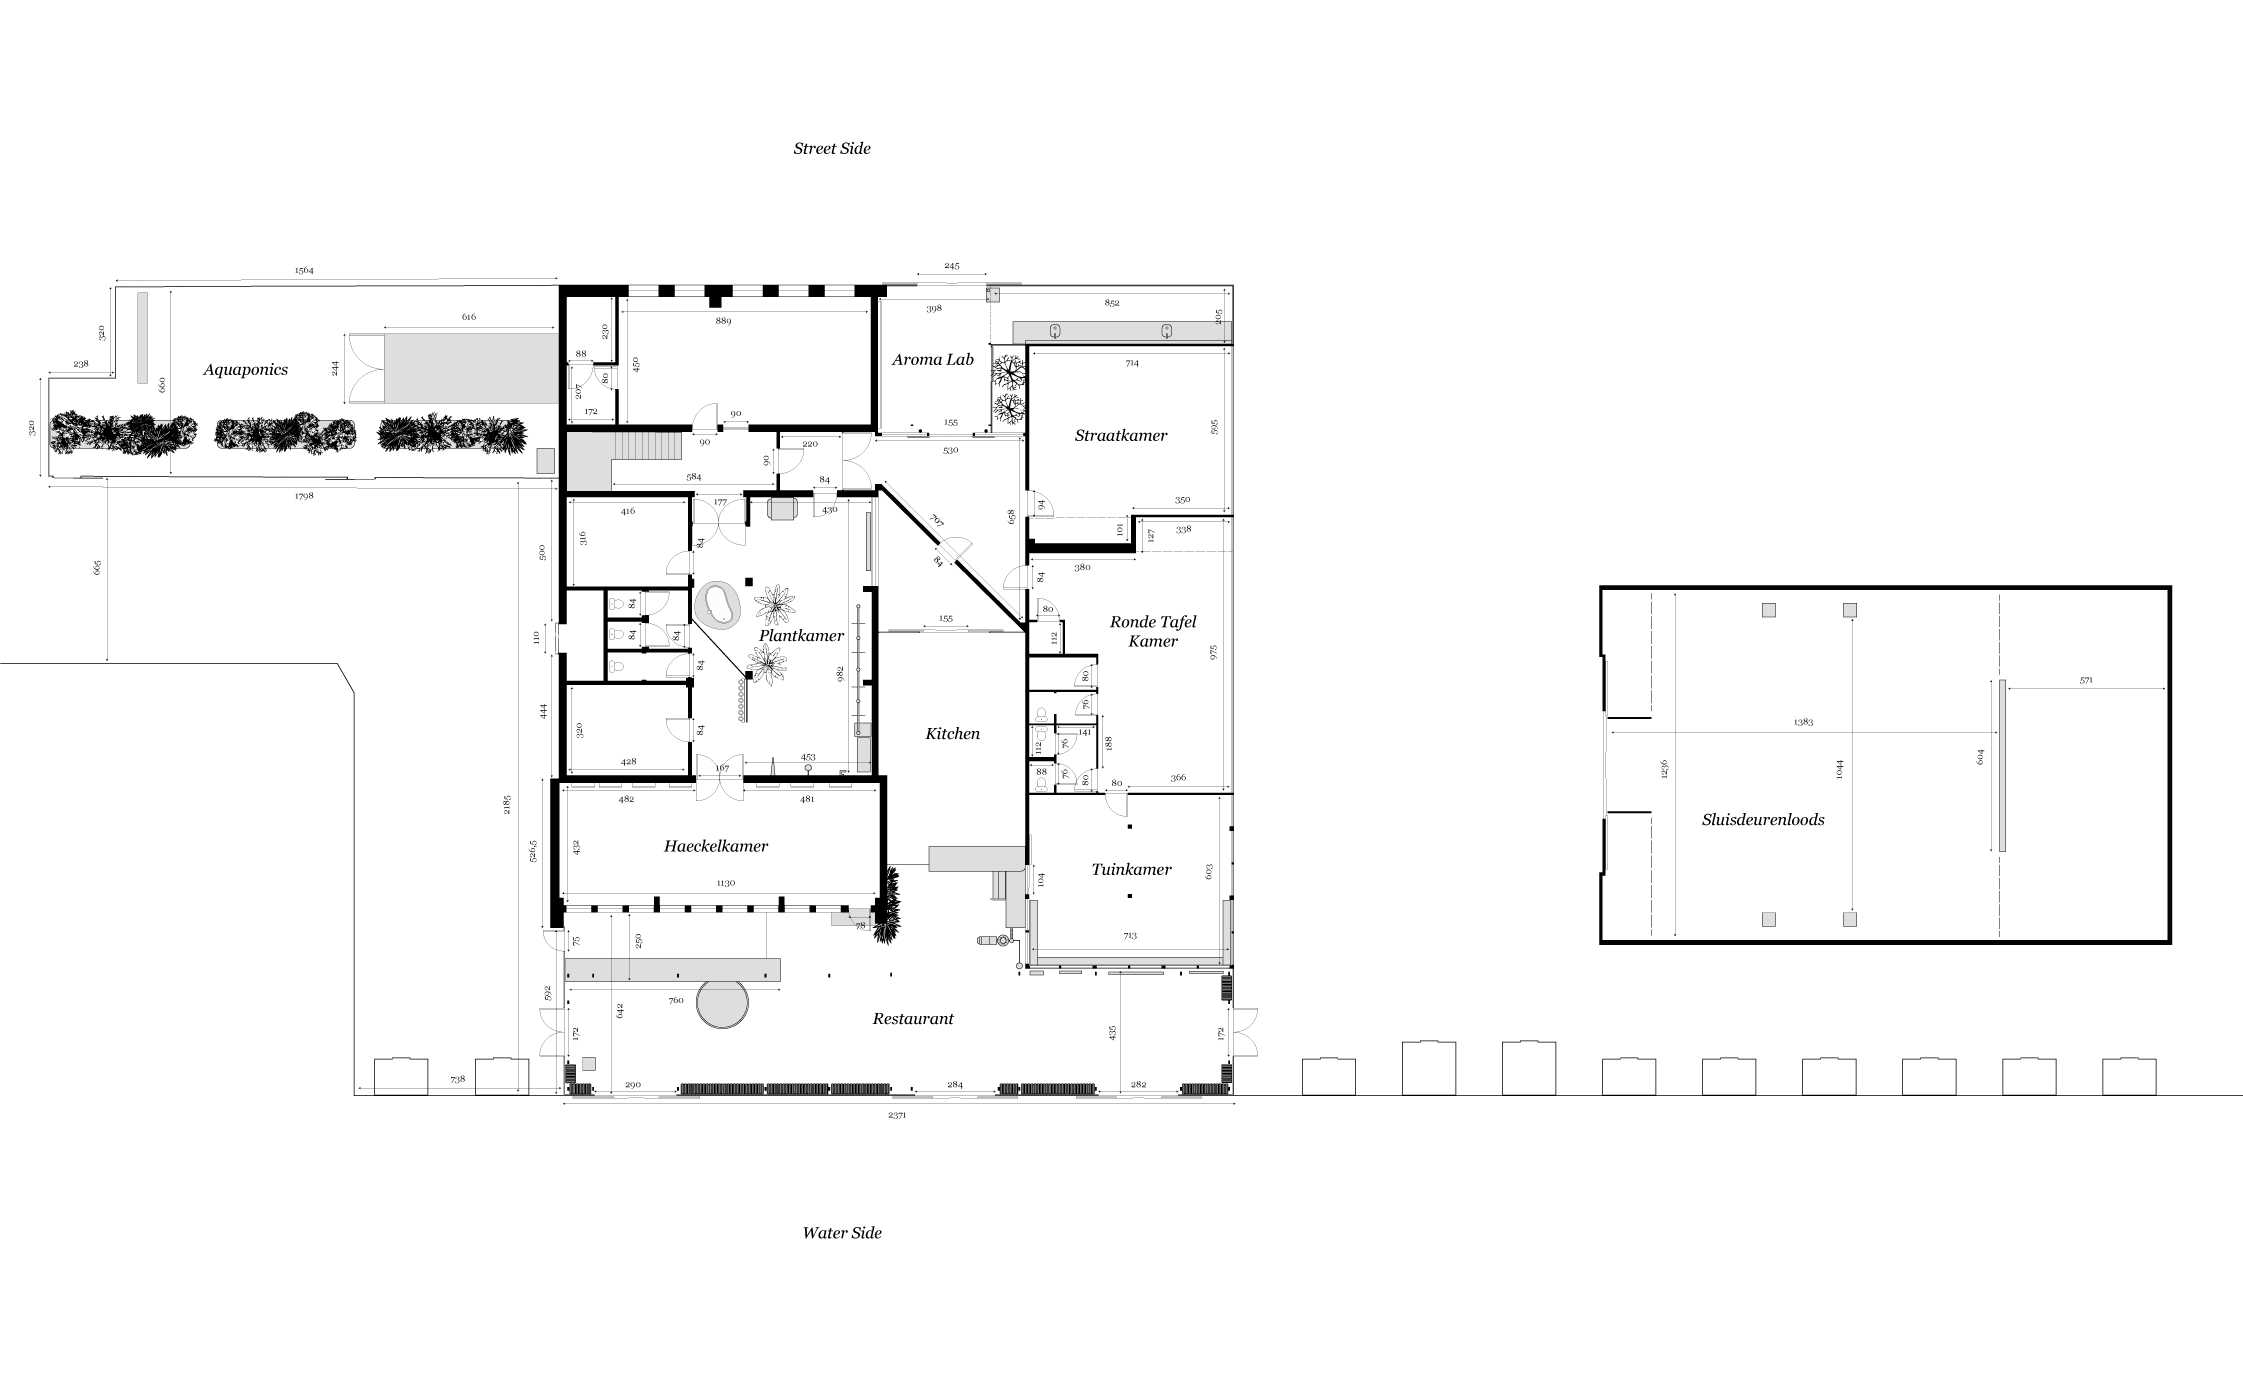
"Mediamatic-Floor Map-date.ai" is the general map with all the spaces and measurements and "Mediamatic-CoronaMaps-2020.ai" is a collection of spaces with different Corona setups.
2. In the folder "Corona Maps pdf" you can find a catalog of setups for every rental space. You also can find aliases of these in Kantoor -> 0-Stichting -> 0-Eventmanagement -> Corona Proof spaces (easier to find for the event team).
3. In the folder "Website png" you will find all the pictures you need for the website.
Use the Mediamatic Floor Map
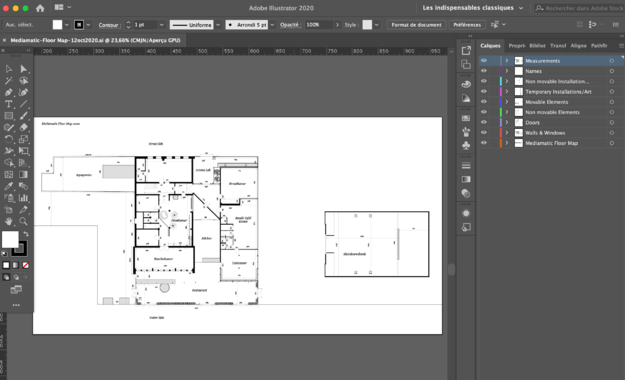
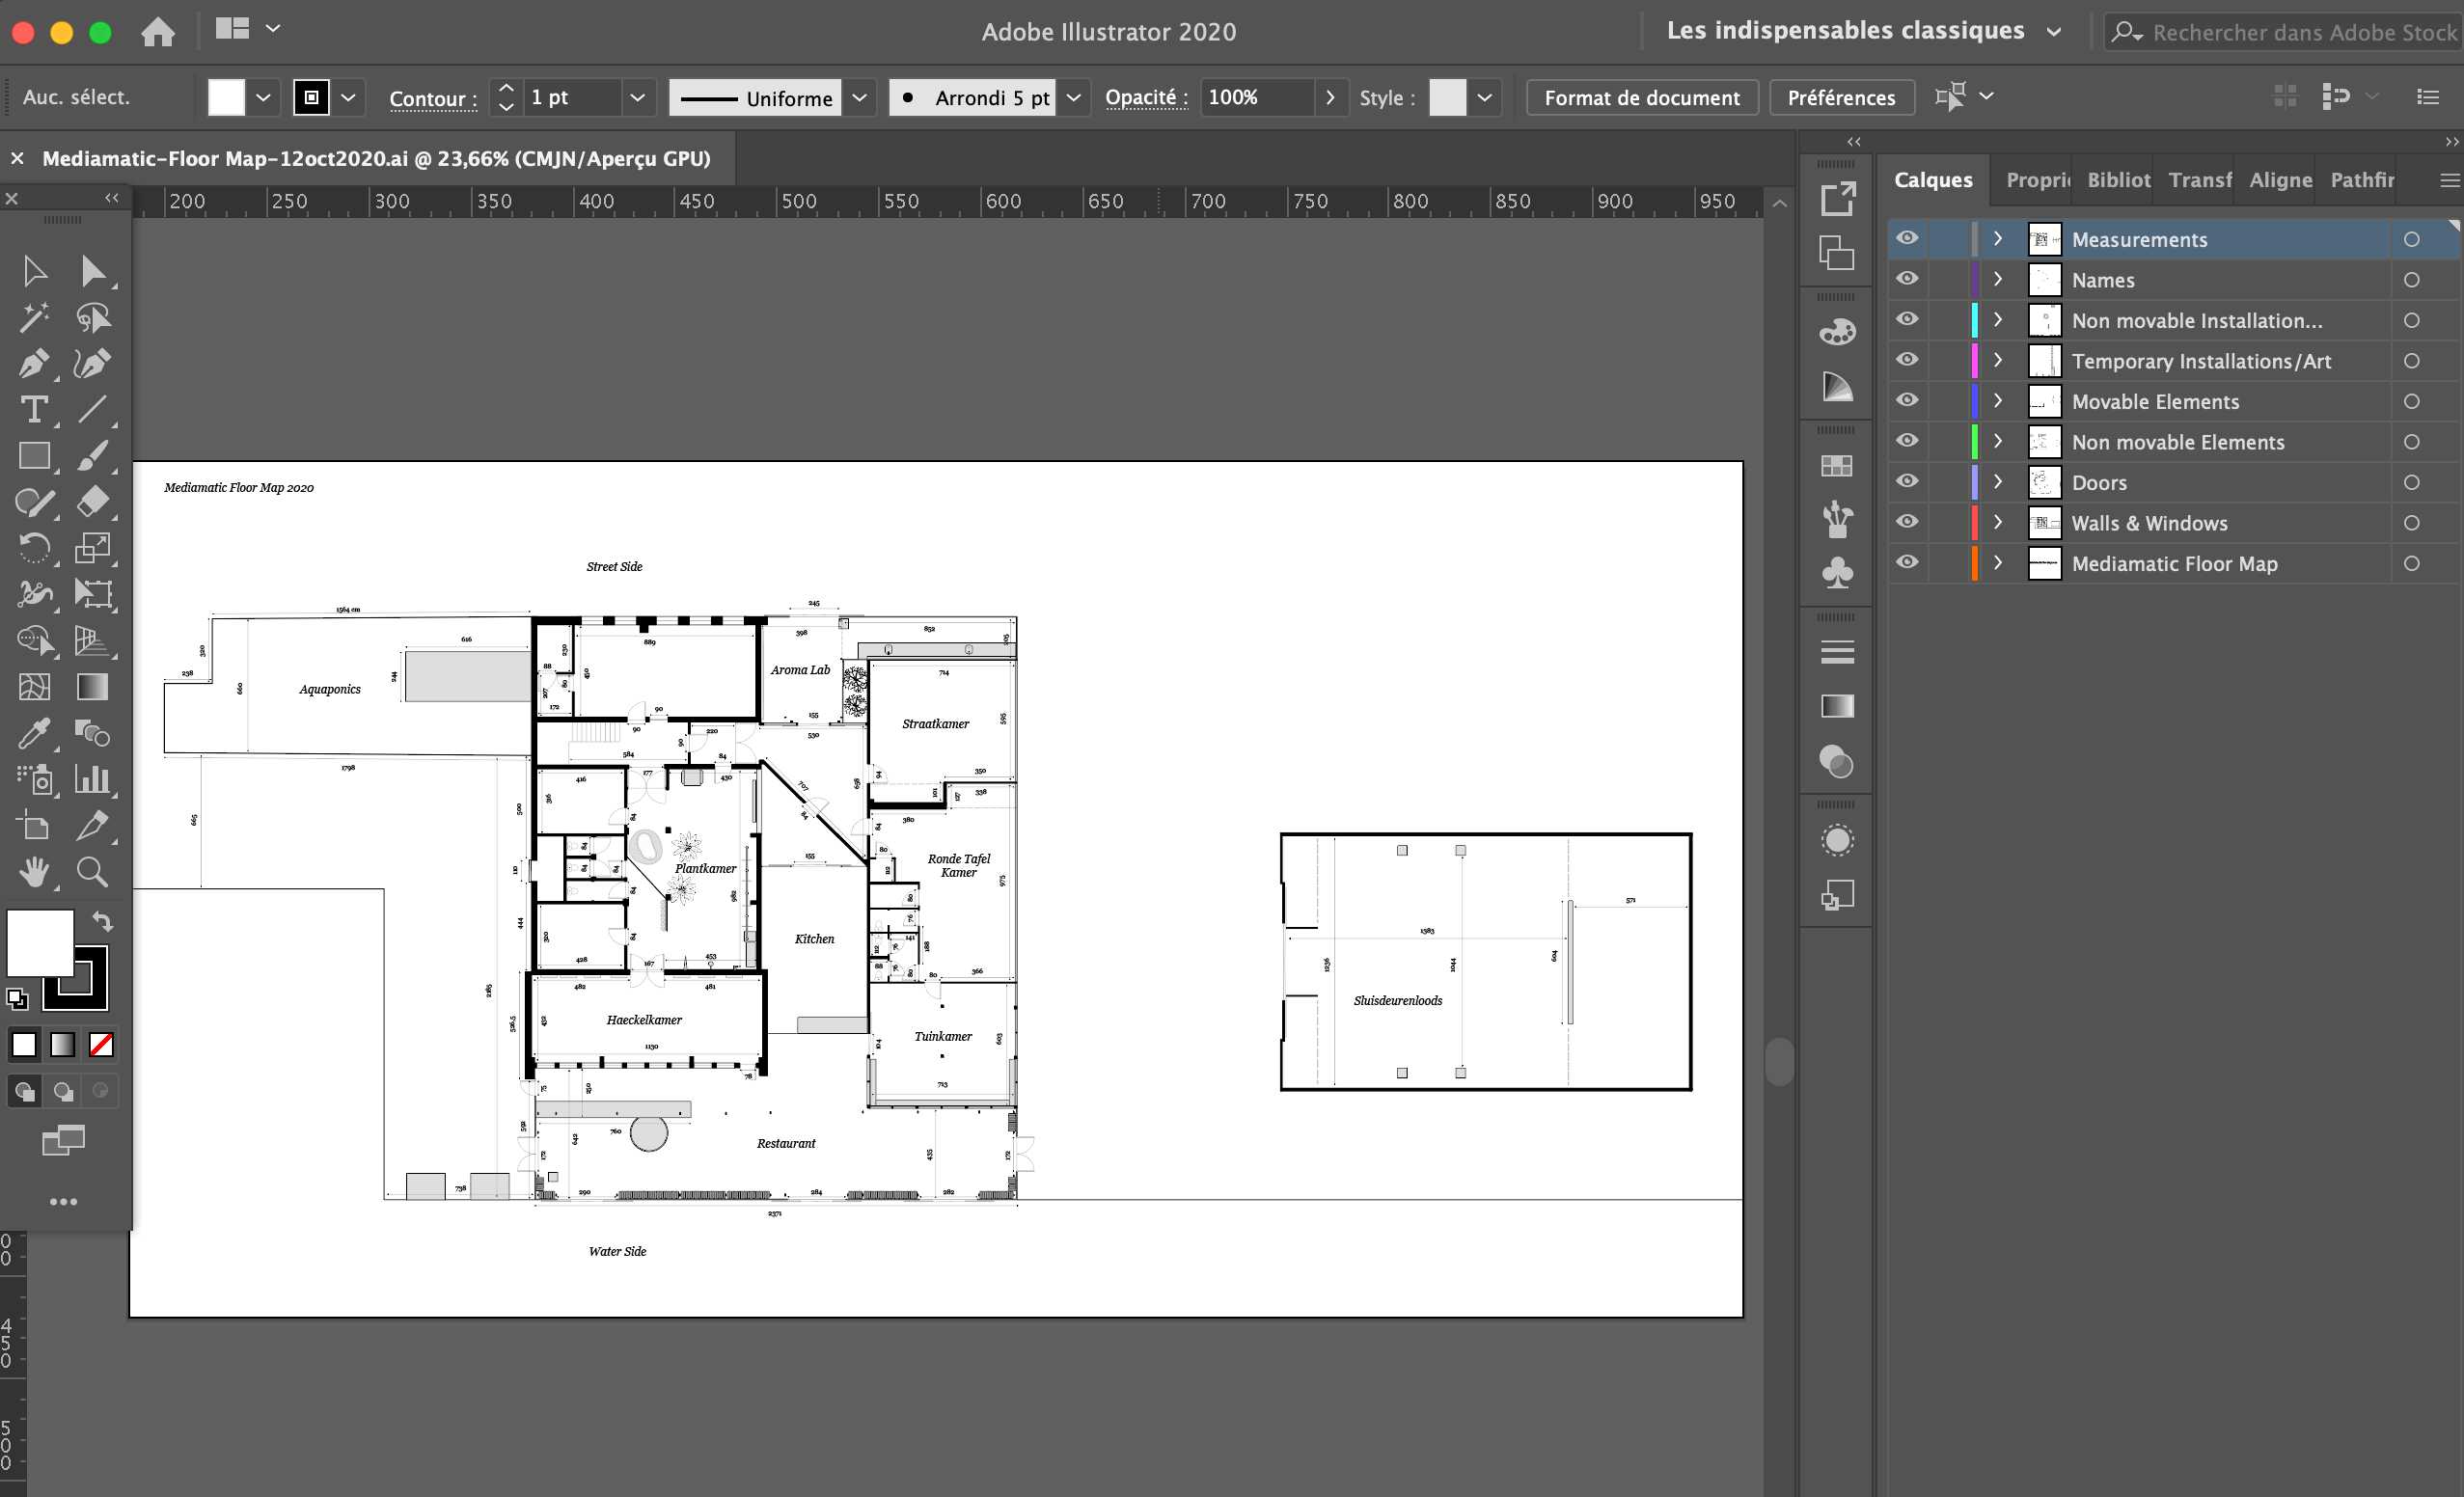
1. Open "Mediamatic-FloorMap-date.ai".
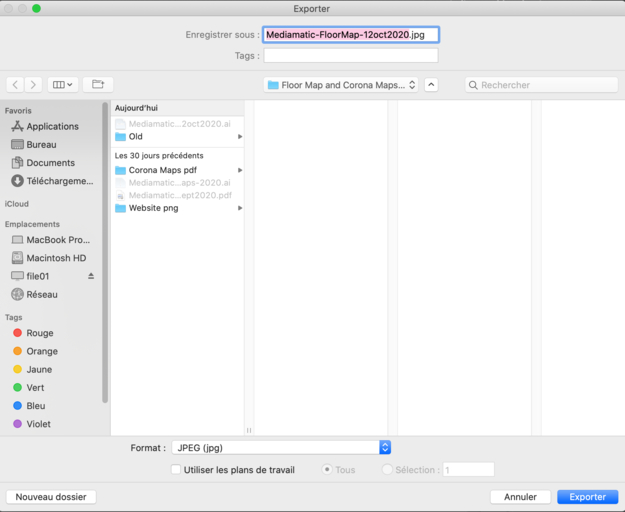
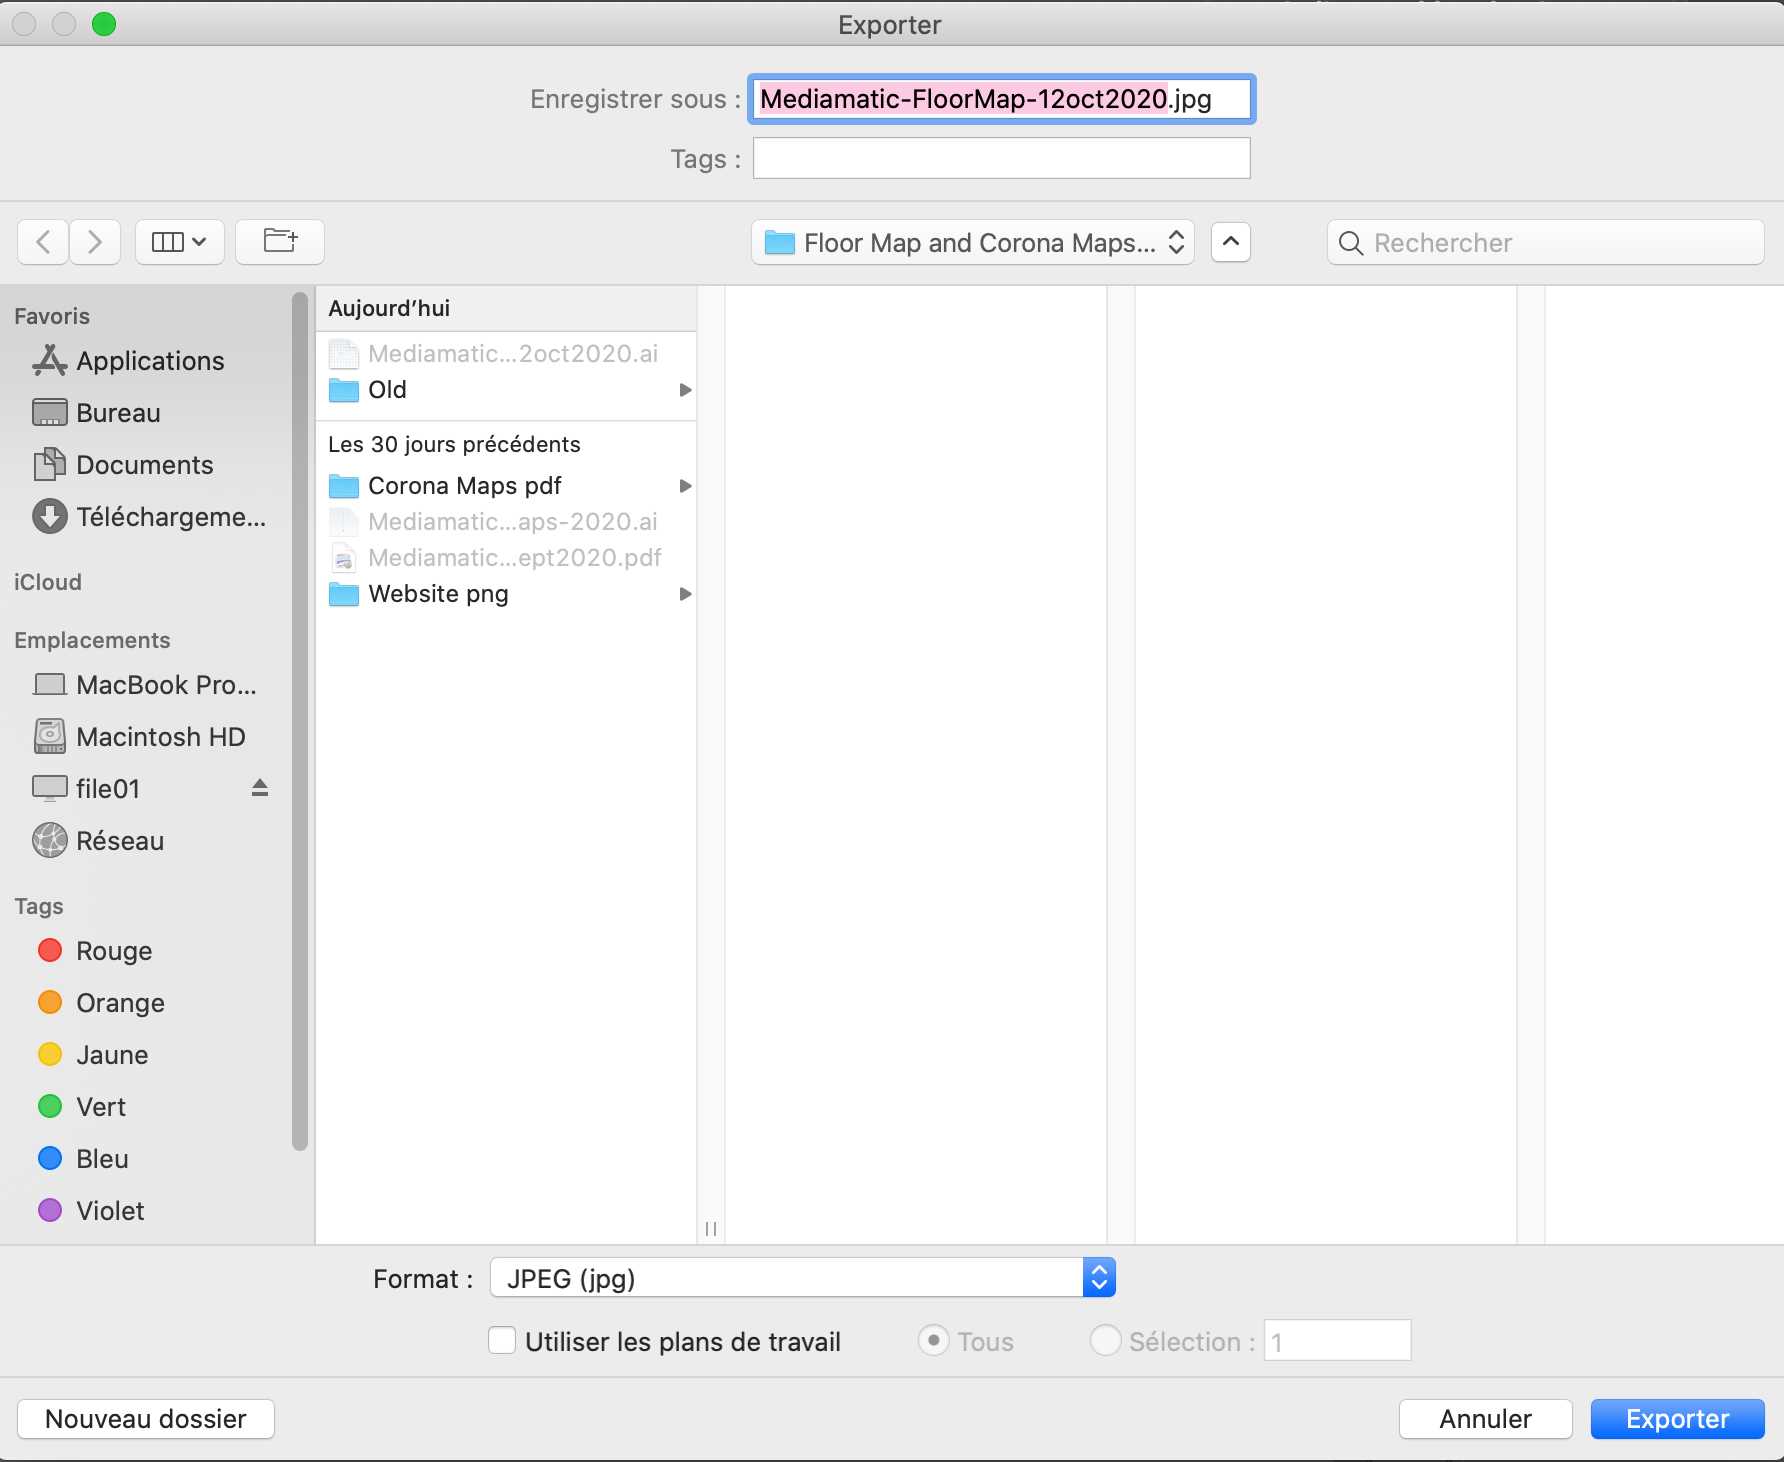
2. If you make any changes, save the file as "Mediamatic-FloorMap-newdate.ai" (like in the exemple below), and put the other one in the "Old" folder.
3. Make sure to respect the scale of the map, which is 1/100. It means that 1 meter in real life equals 1 centimeter on the map.
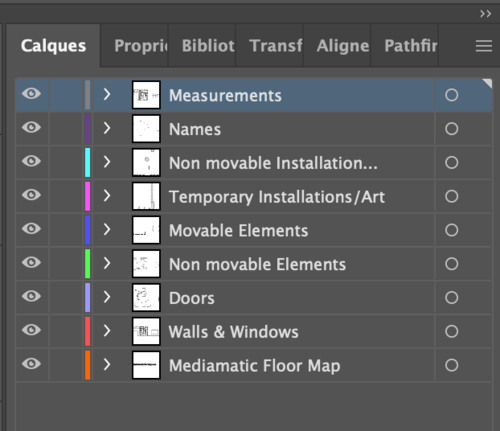
4. Keep the layers nice and clean when you are working on it so it is easier to shut down some elements when needed.
5. Make sure to save your changes.
6. You can then save it as "Mediamatic-FloorMap-newdate.pdf" and put the other one in the "Old" folder. You can also export it as a jpeg or png, depending on what you need.
Use the Corona Maps
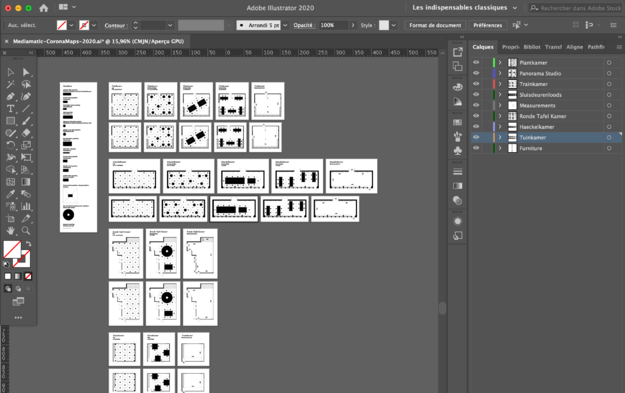
1. Open "Mediamatic-CoronaMaps-2020".
2. The scale of the map is 1/100 here too. It means that 1 meter in real life equals 1 centimeter on the map.
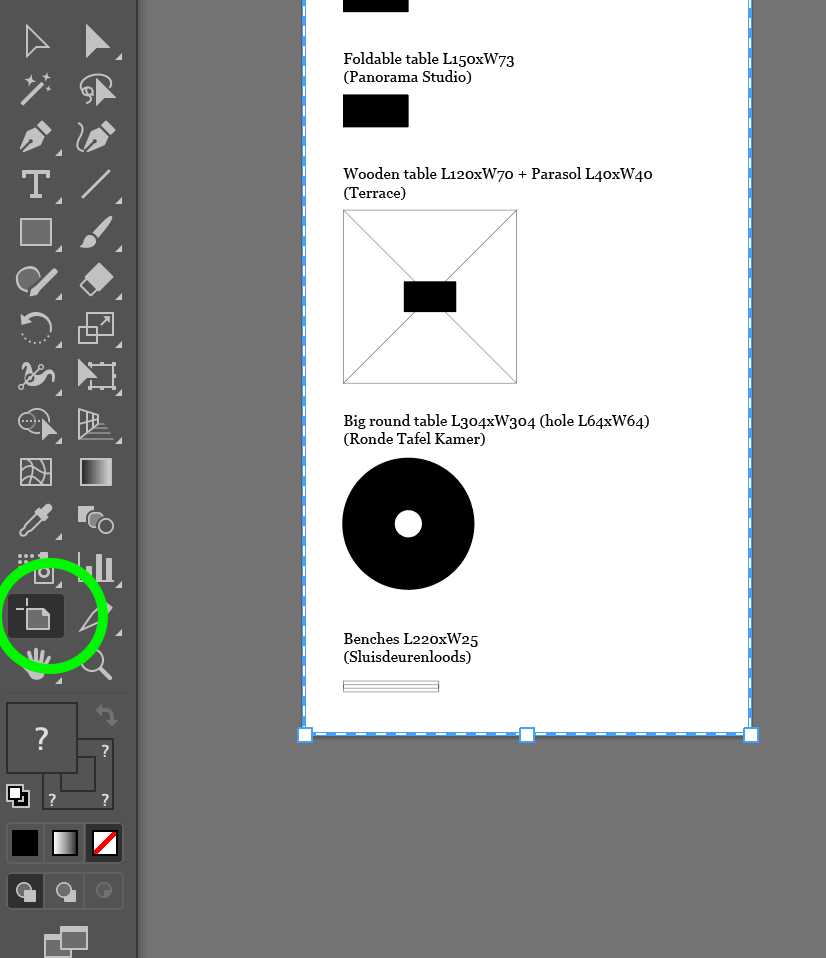
3. On the left side you will find a "furniture box", where you have every piece of furniture you may need for the creation of a corona setup. Every element has its measurements written over it.
4. If you need to add an element of furniture you can extend the artboard downwards with this tool:

5. Always write the dimensions of the new element, and if possible put into brackets the space where it is mostly used.
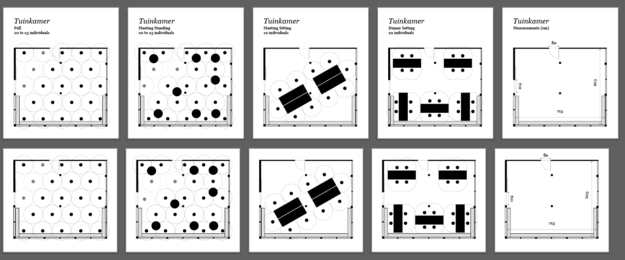
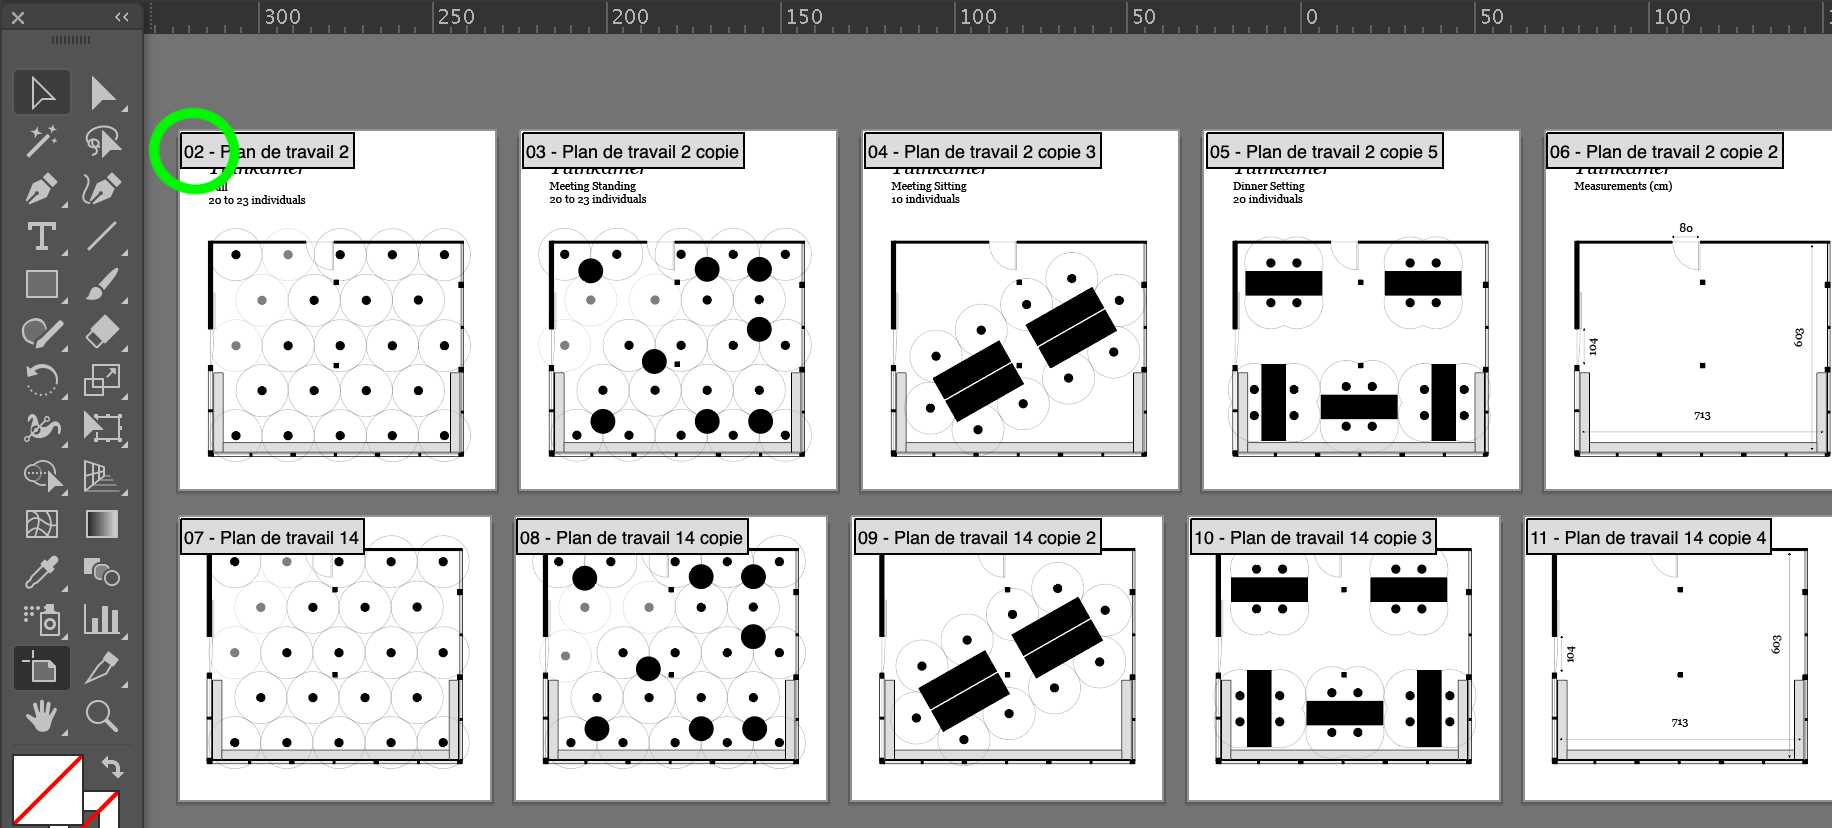
6. To make exports easier, every space has two lines of setups, one with the name and one without. The first line is used to make the pdf folder with all the setups for the space, and the second line is made to export pictures for the rental pages on the website.
7. If you want to create a new setup just put it at the end of the row.
8. To save it as a pdf folder you have to select the range of artboards you want to export. You can see there numbers by clicking on the artboard tool.
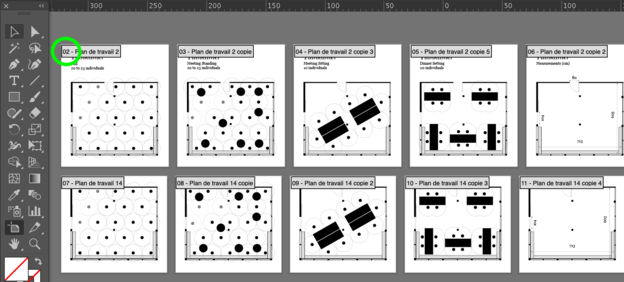
9. Choose File -> Save as, a new window opens. Select pdf and put the range of artboards you want to export in the lower right corner (here 02-06). Save it in "Corona Maps pdf" and name your file like this: "RoomName_CoronaSettings.pdf". There is also a "Special Requests" folder in case you need to create special setups for events.

10. To save the maps as png for the website go to File -> Export -> Export as. A window opens, select png and the artboard you want to export you can also select a range but you will have to rename the files then). Put it in "Website png" and in the folder of the room you are working on.

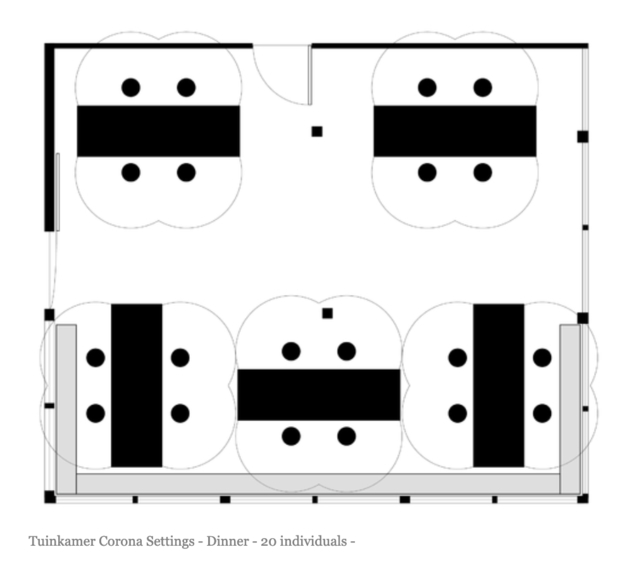
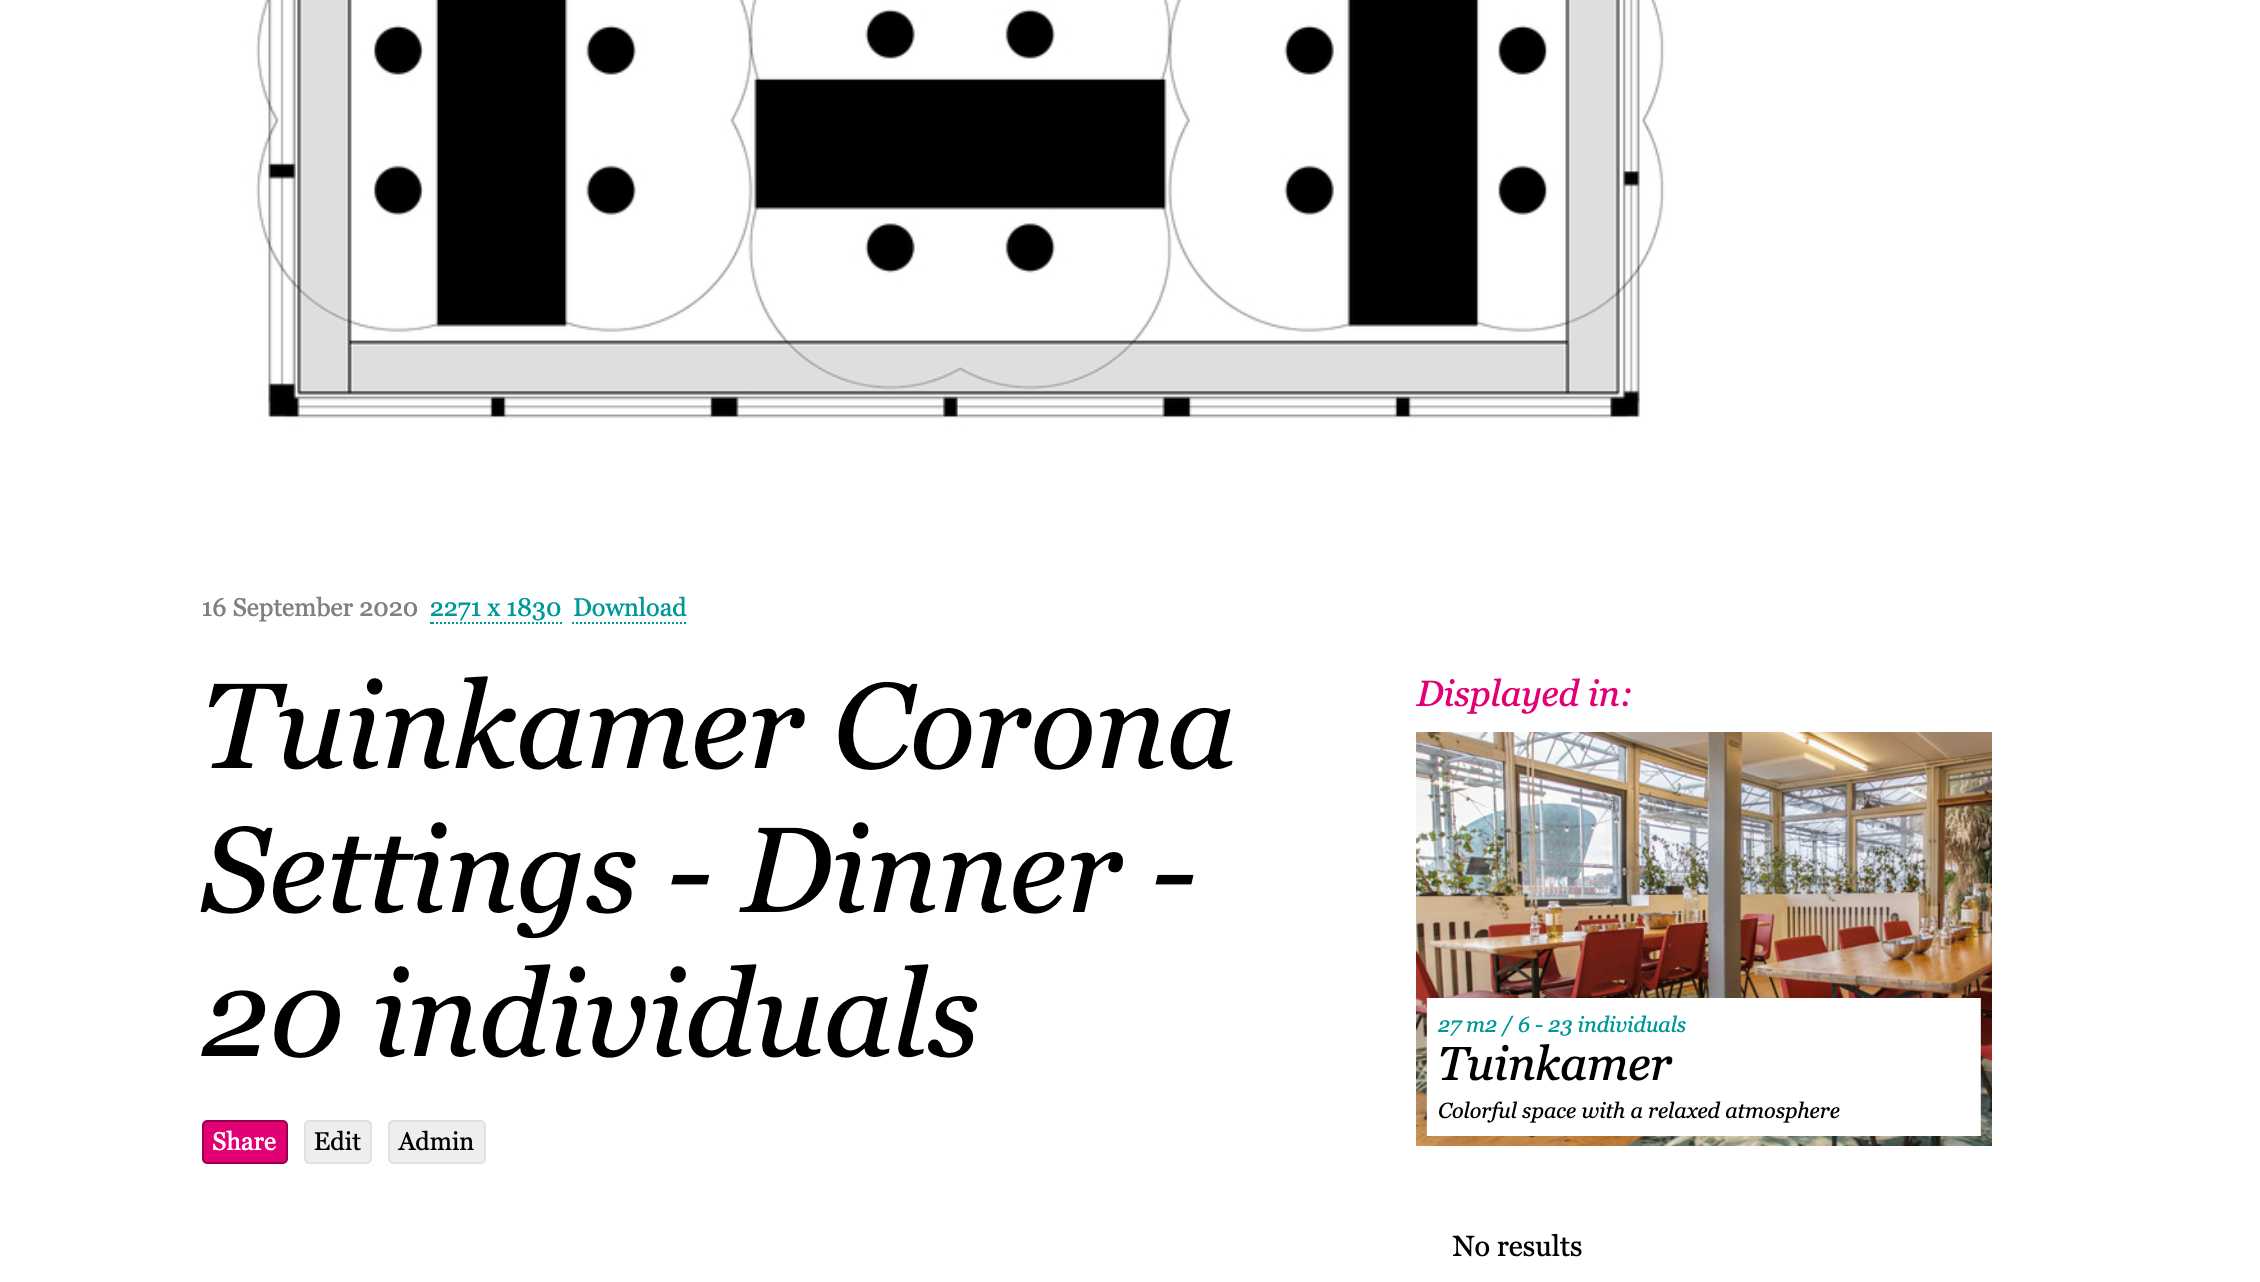
11. Name it like this: "Mediamatic_RoomName_SettingName(MaxCapacity)", for exemple here it is "Mediamatic_Tuinkamer_Dinner(20)". This is very important, so people who download our pictures on the website can know what is the picture about.
12. Choose 600ppp and white background for your png. Click "OK" and here you have.

On the website
1. When putting a new map on the website, make sure to call your image like this: "RoomName Corona Settings - SettingName - MaxCapacity", like here it is "Tuinkamer Corona Settings - Dinner - 20 individuals".

2. Then you can see the details of the image by going over it with your pointer and have a nice legend.