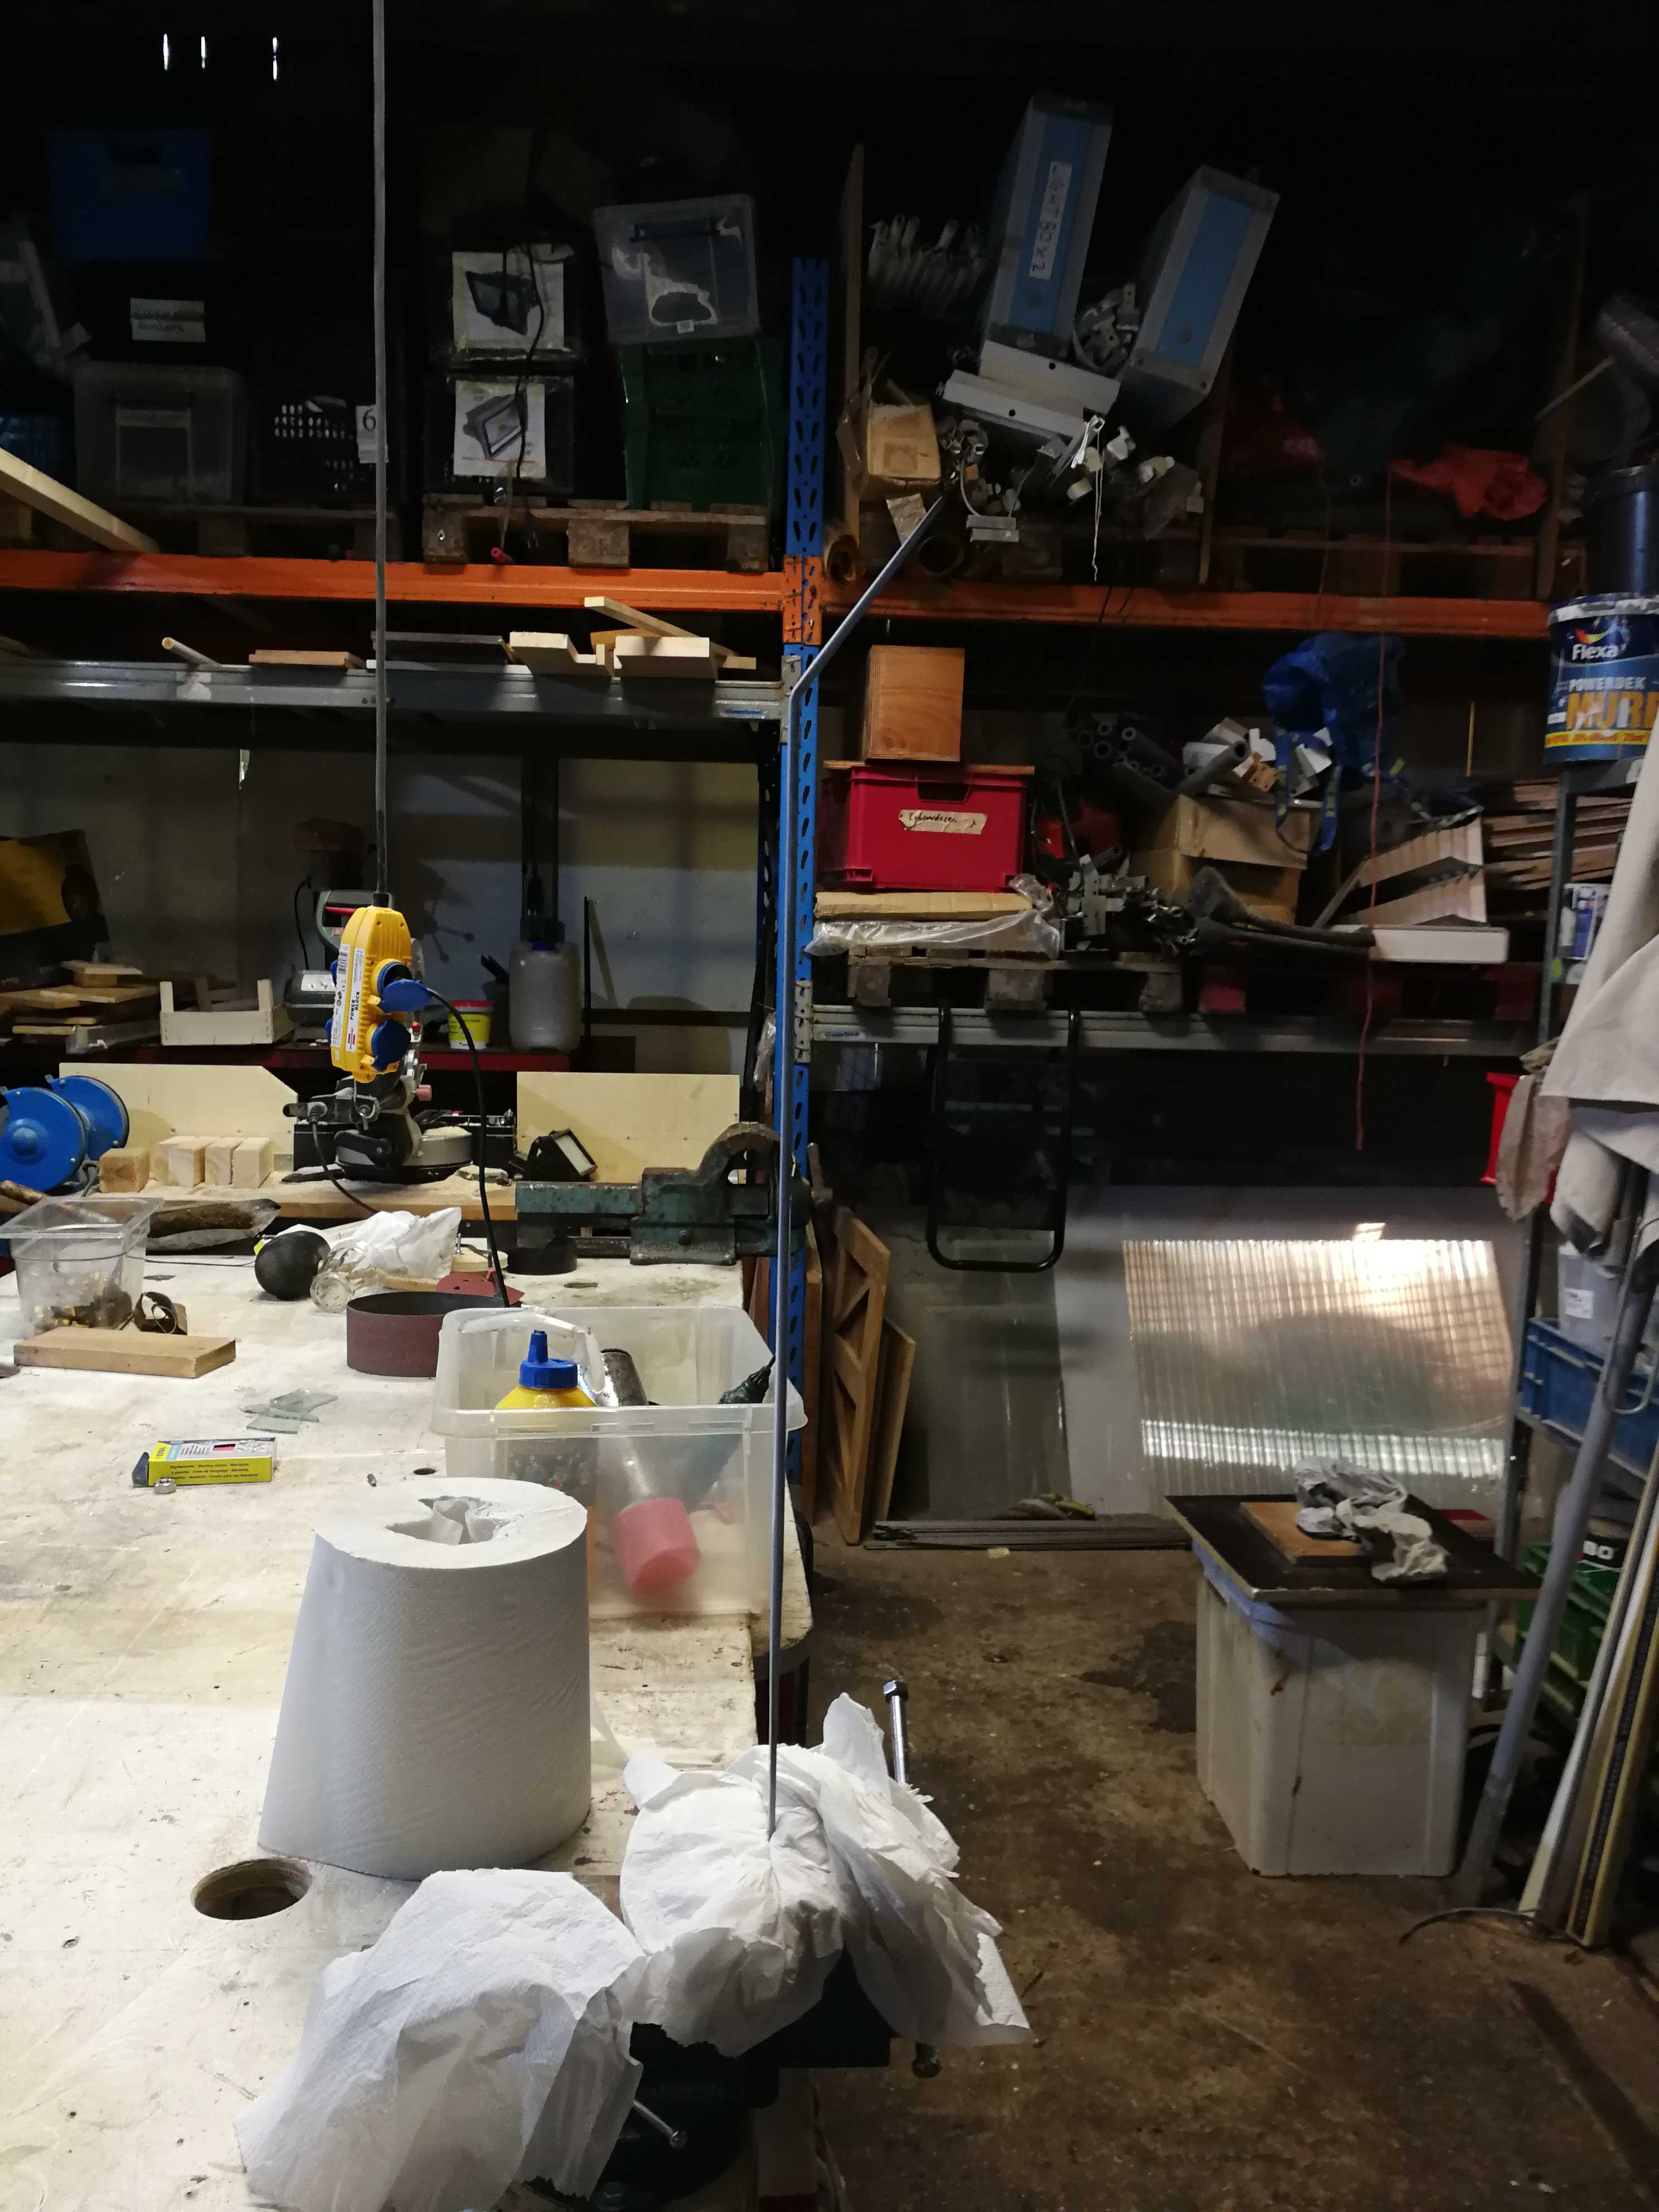
Stage March 2021 How can we make them sustainalbe?
Probelm: Plant signs that were outside got rusty - fell off
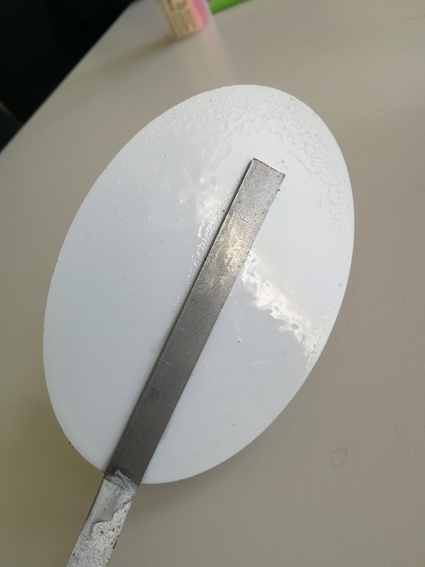
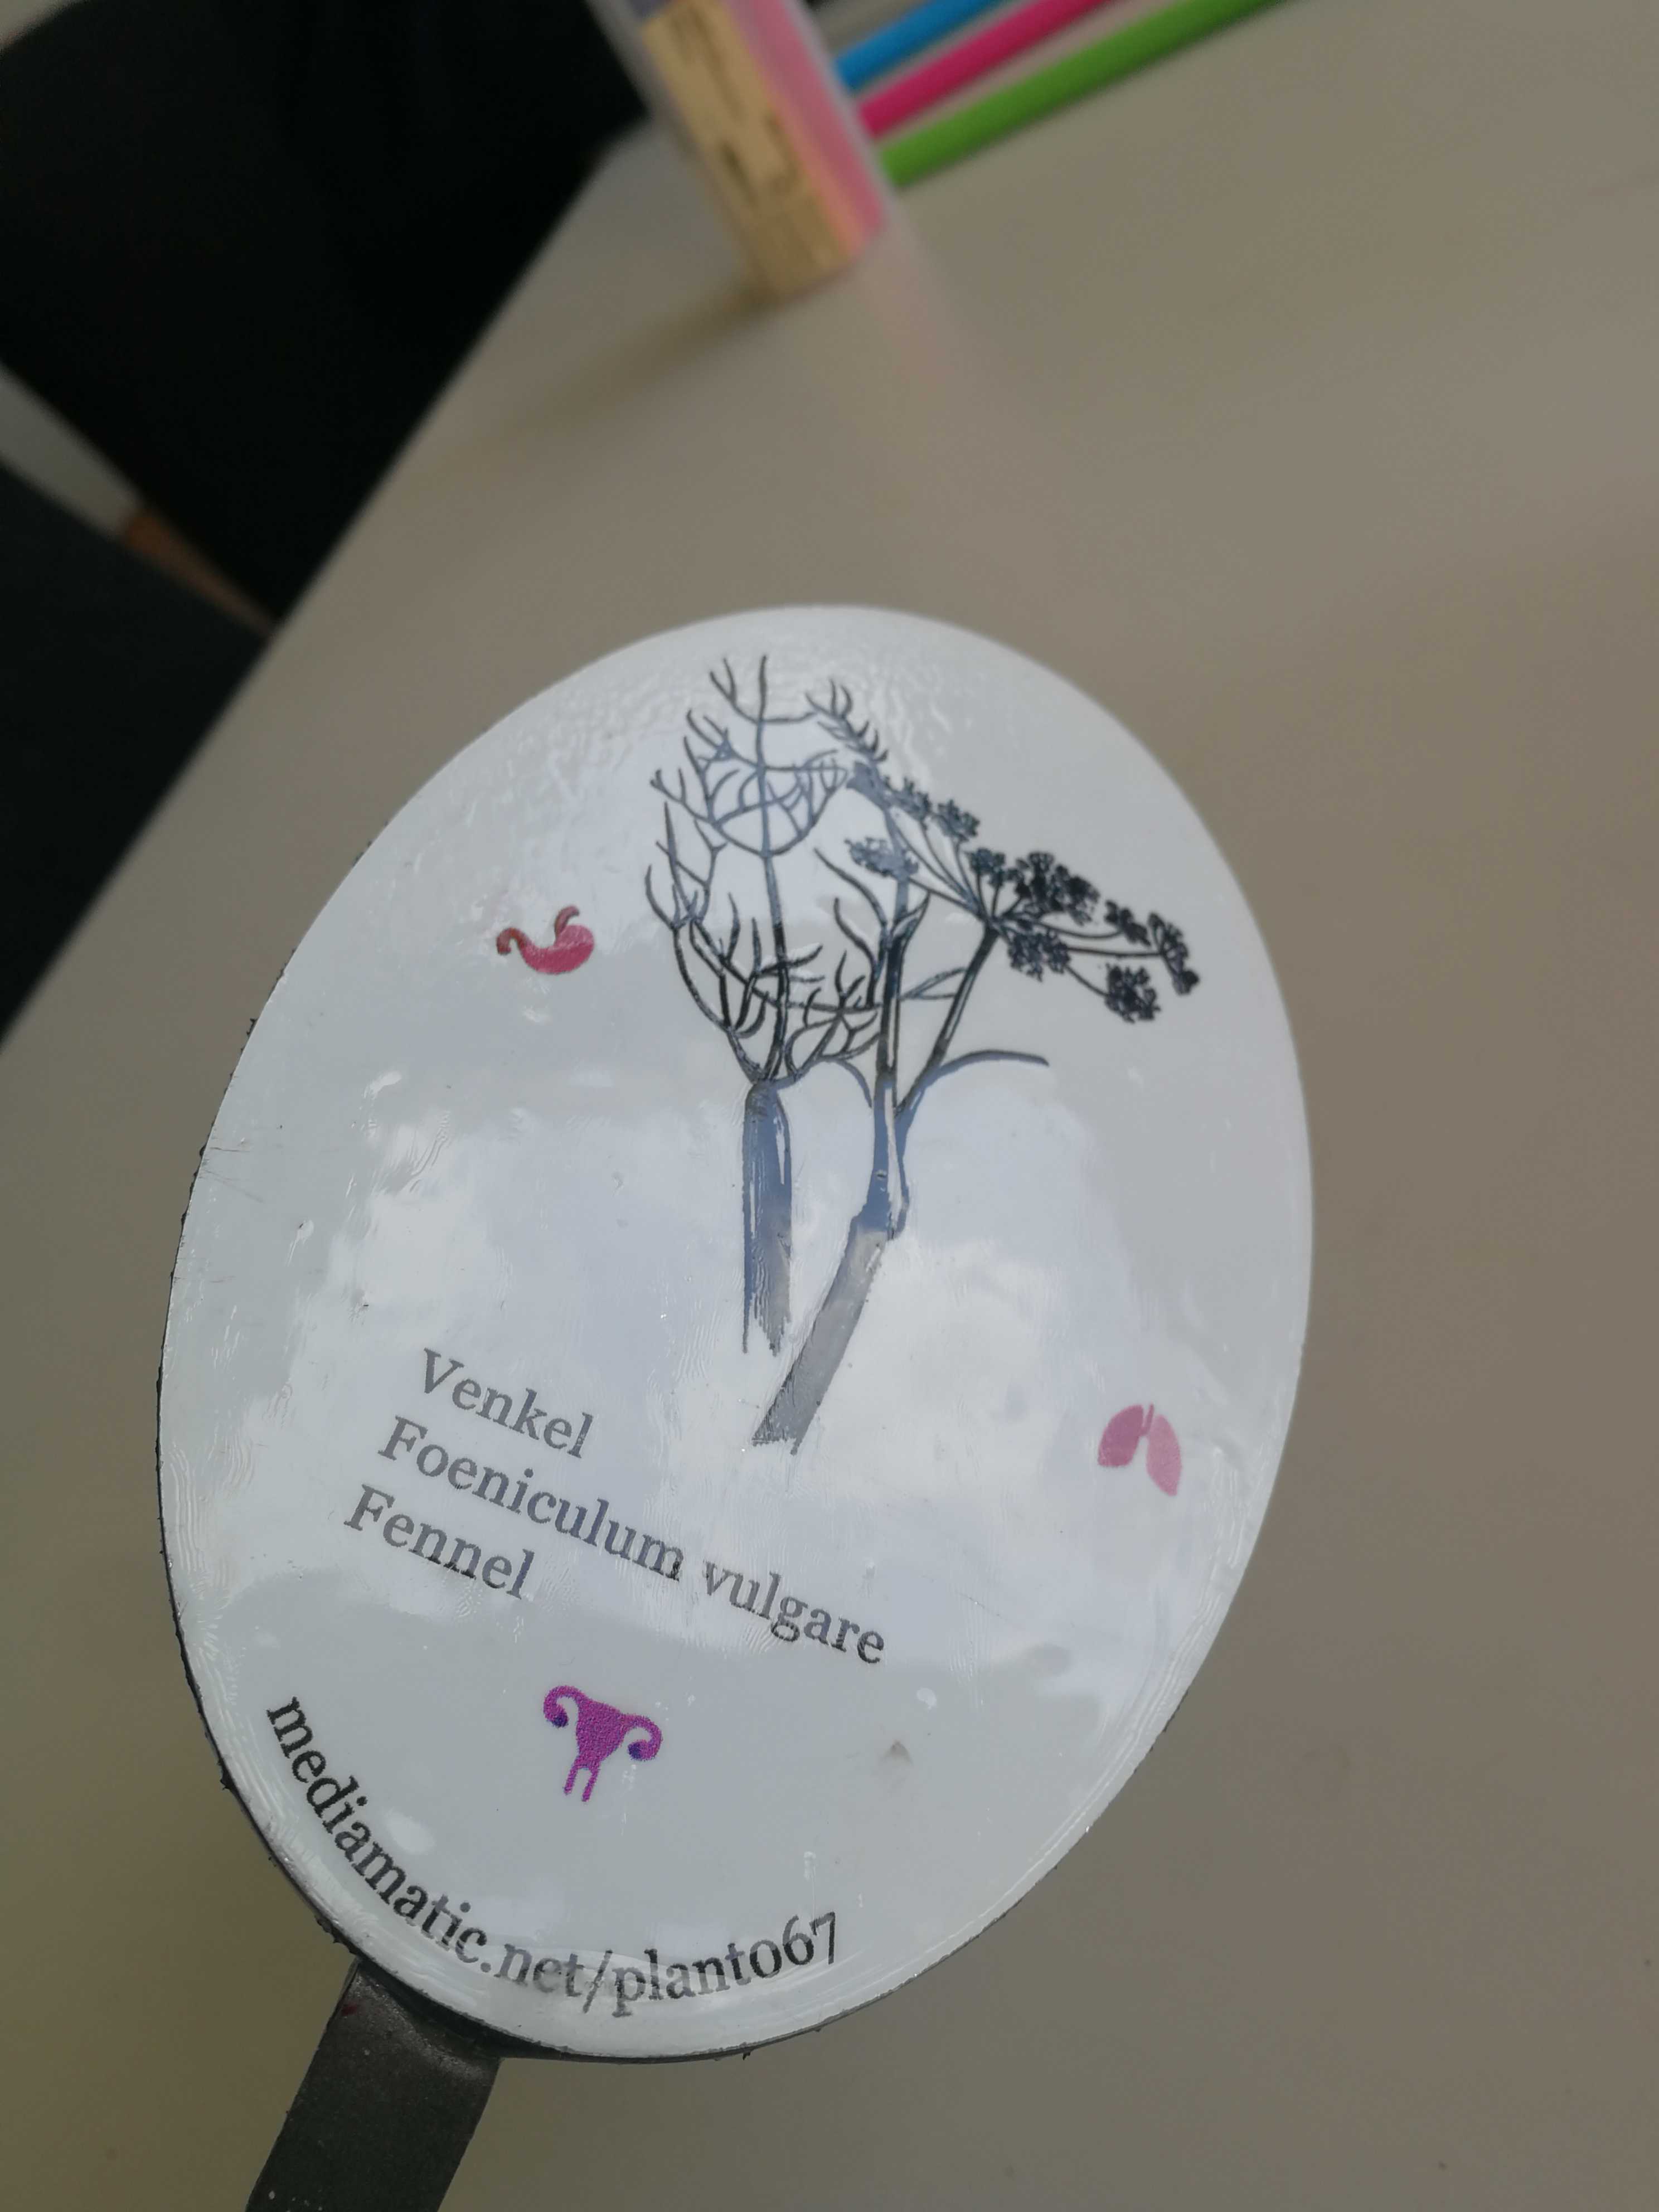
different signs: old ones = small icons, new plant signs were printed with bigger icons
TEST 1
What: Dipping signs into graffiti coating
Conclusion: Graffiti coating doesn't stick on metal and the layer gets too thick when dipping it.
TEST 2
What: Applying epoxy coating with a brush and letting it dry in an upright position
Conclusion: The epoxy coating needs to dry in a dust-free space (otherwise the sign will collect dust on the surface); by letting it dry in an upright position, uneven bulbs are forming on the bottom

TEST 3
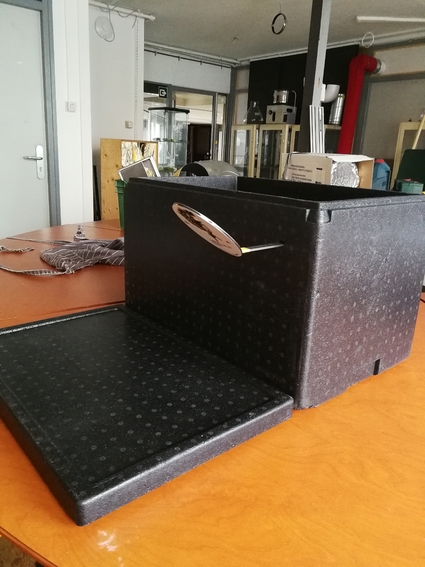
What: Applying epoxy coating with a brush and letting it dry horizontally by sticking it in a styrofoam box (Clean Lab)
Conclusion: satisfying result, the back side looks perfectly sealed

TEST 4
What:
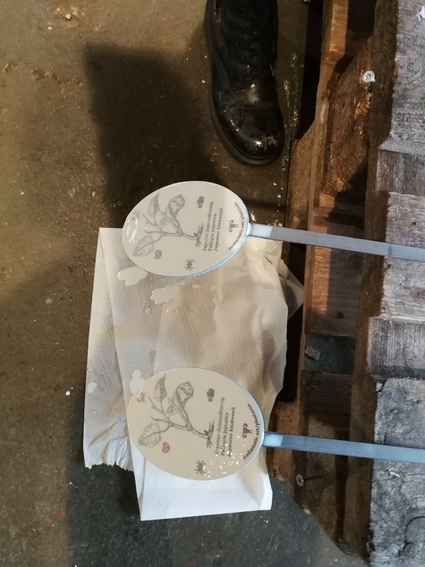
1. Cleaning the signs with alcohol (important, otherwise there will get dirt in the epoxy and on the other signs)
2. Coating a total of 22 signs with epoxy, by applying it with a brush; Duration: 30 minutes; Epoxy used: 25 ml of each component = 50 ml in total -> Almost finished after adding a layer of epoxy on both sides of the plant sign.
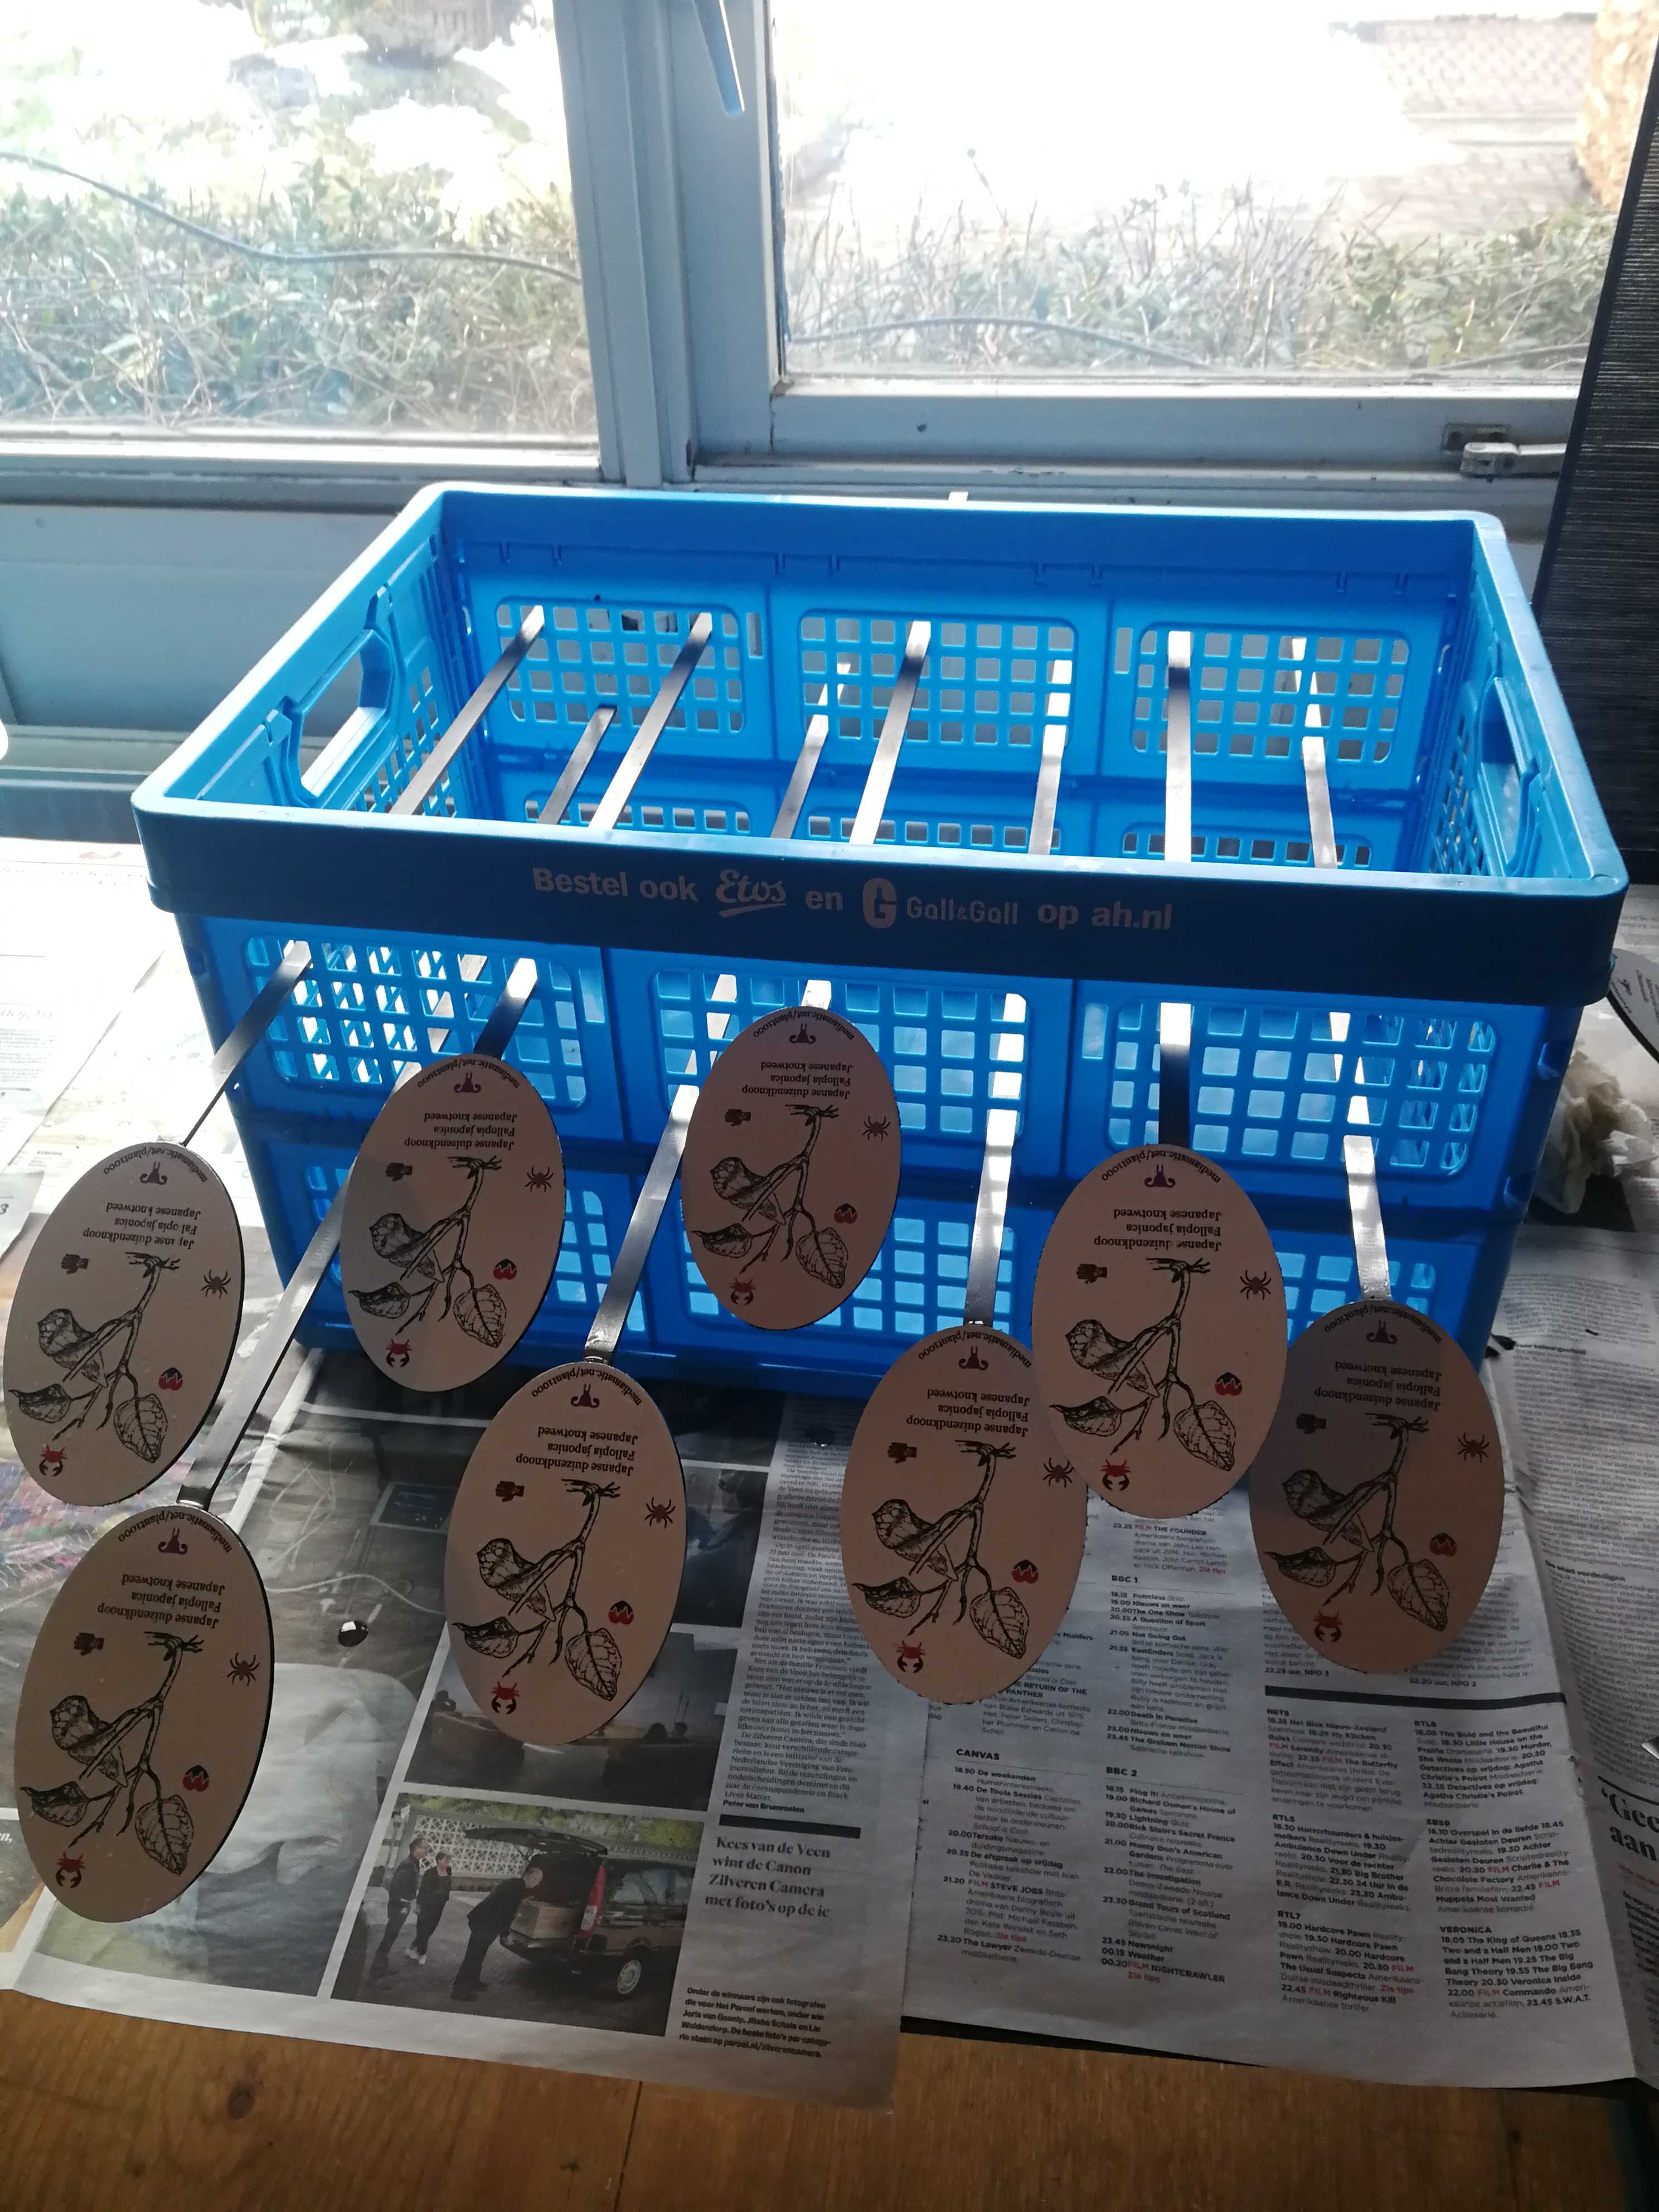
3. Letting it drip for about 20 min. by sticking it in a blue box
4. Removing the little bulb on the bottom with a brush + turning the sign upside down
5. Putting the used brush in vinegar in order to be able to reuse it
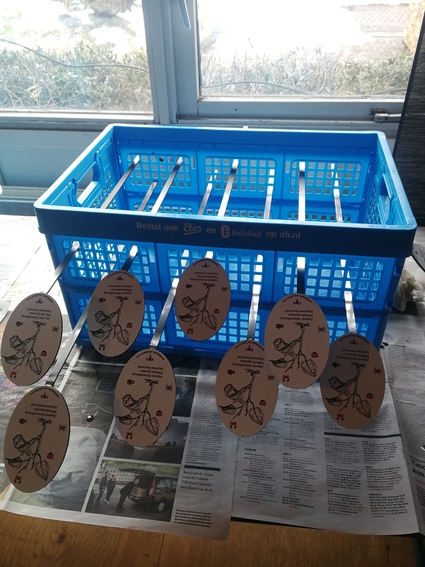
Conclusions: leave enough space between the signs on the drying rack to be able to turn them around without touching each other; don't wait too long to remove the bulb, otherwise you might take off too much of the resin
How to avoid little bubbles in the epoxy resin:
- warm the resin before using it (put it in front of a heater or in a bowl of warm - not hot! - water) BUT making it to warm can shorten the processing time
- mix the two components together slowly - doing it fast can cause lots of bubbles
- use a small spatula for mixing
TEST 5
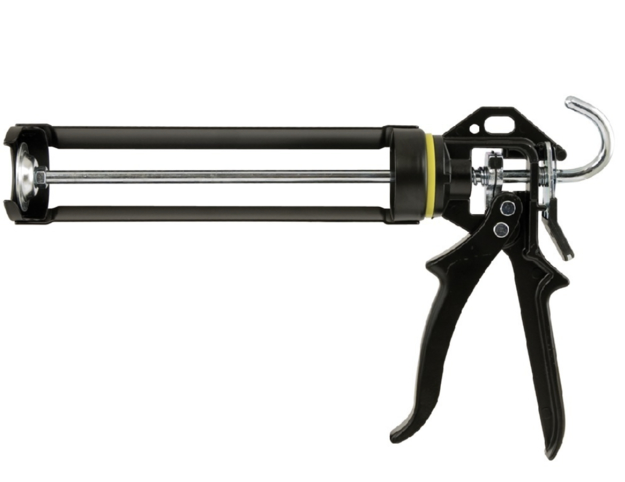
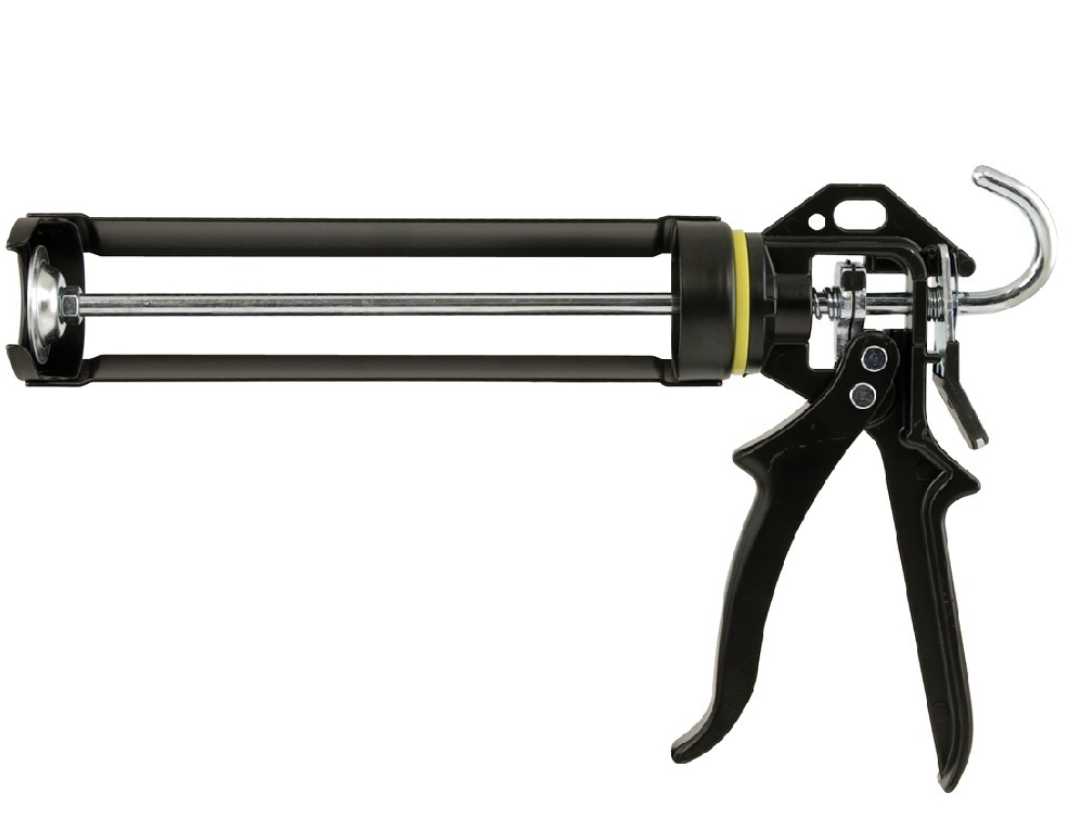
What: Using a silicone kit for sanitary applications (transparent!) as a glue
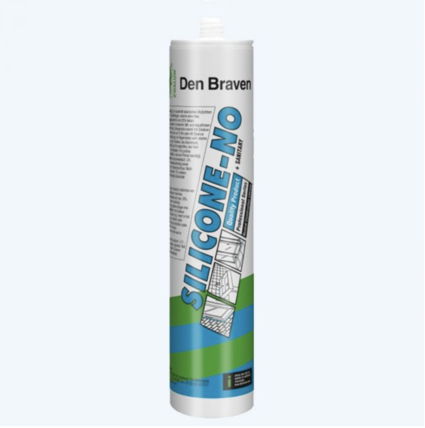
1. Cleaning the back of the plant sign with the cleaner that is included in the kit in order to get a fat-free surface.
2. Applying the silicone with a silicone gun on the back of the plant sign
3. Pushing the stick onto the silicone
4. Removing the excess silicone on the sides and make a nice edge with a scraper rubber
5. Applying a weight on the top to hold the stick in position
6. Letting it try
Conclusion:
- The silicone doesn't fully dry out (-> use a silicone of better quality)
- The silicone layer needs to be thicker (-> find a way to dry it without applying weight on the top)
- Don't remove the excess material on the sides (-> it will seal the edges and prevents the sticks from getting rusty)
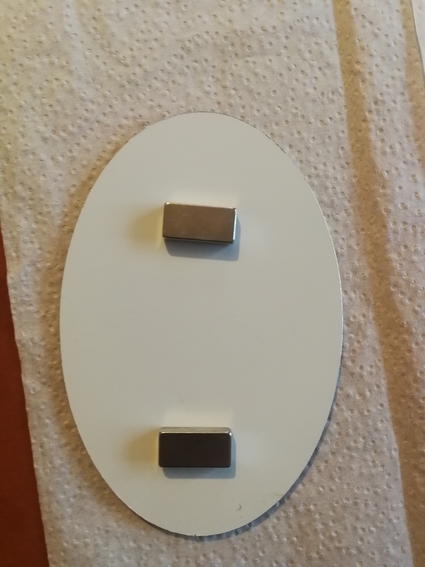
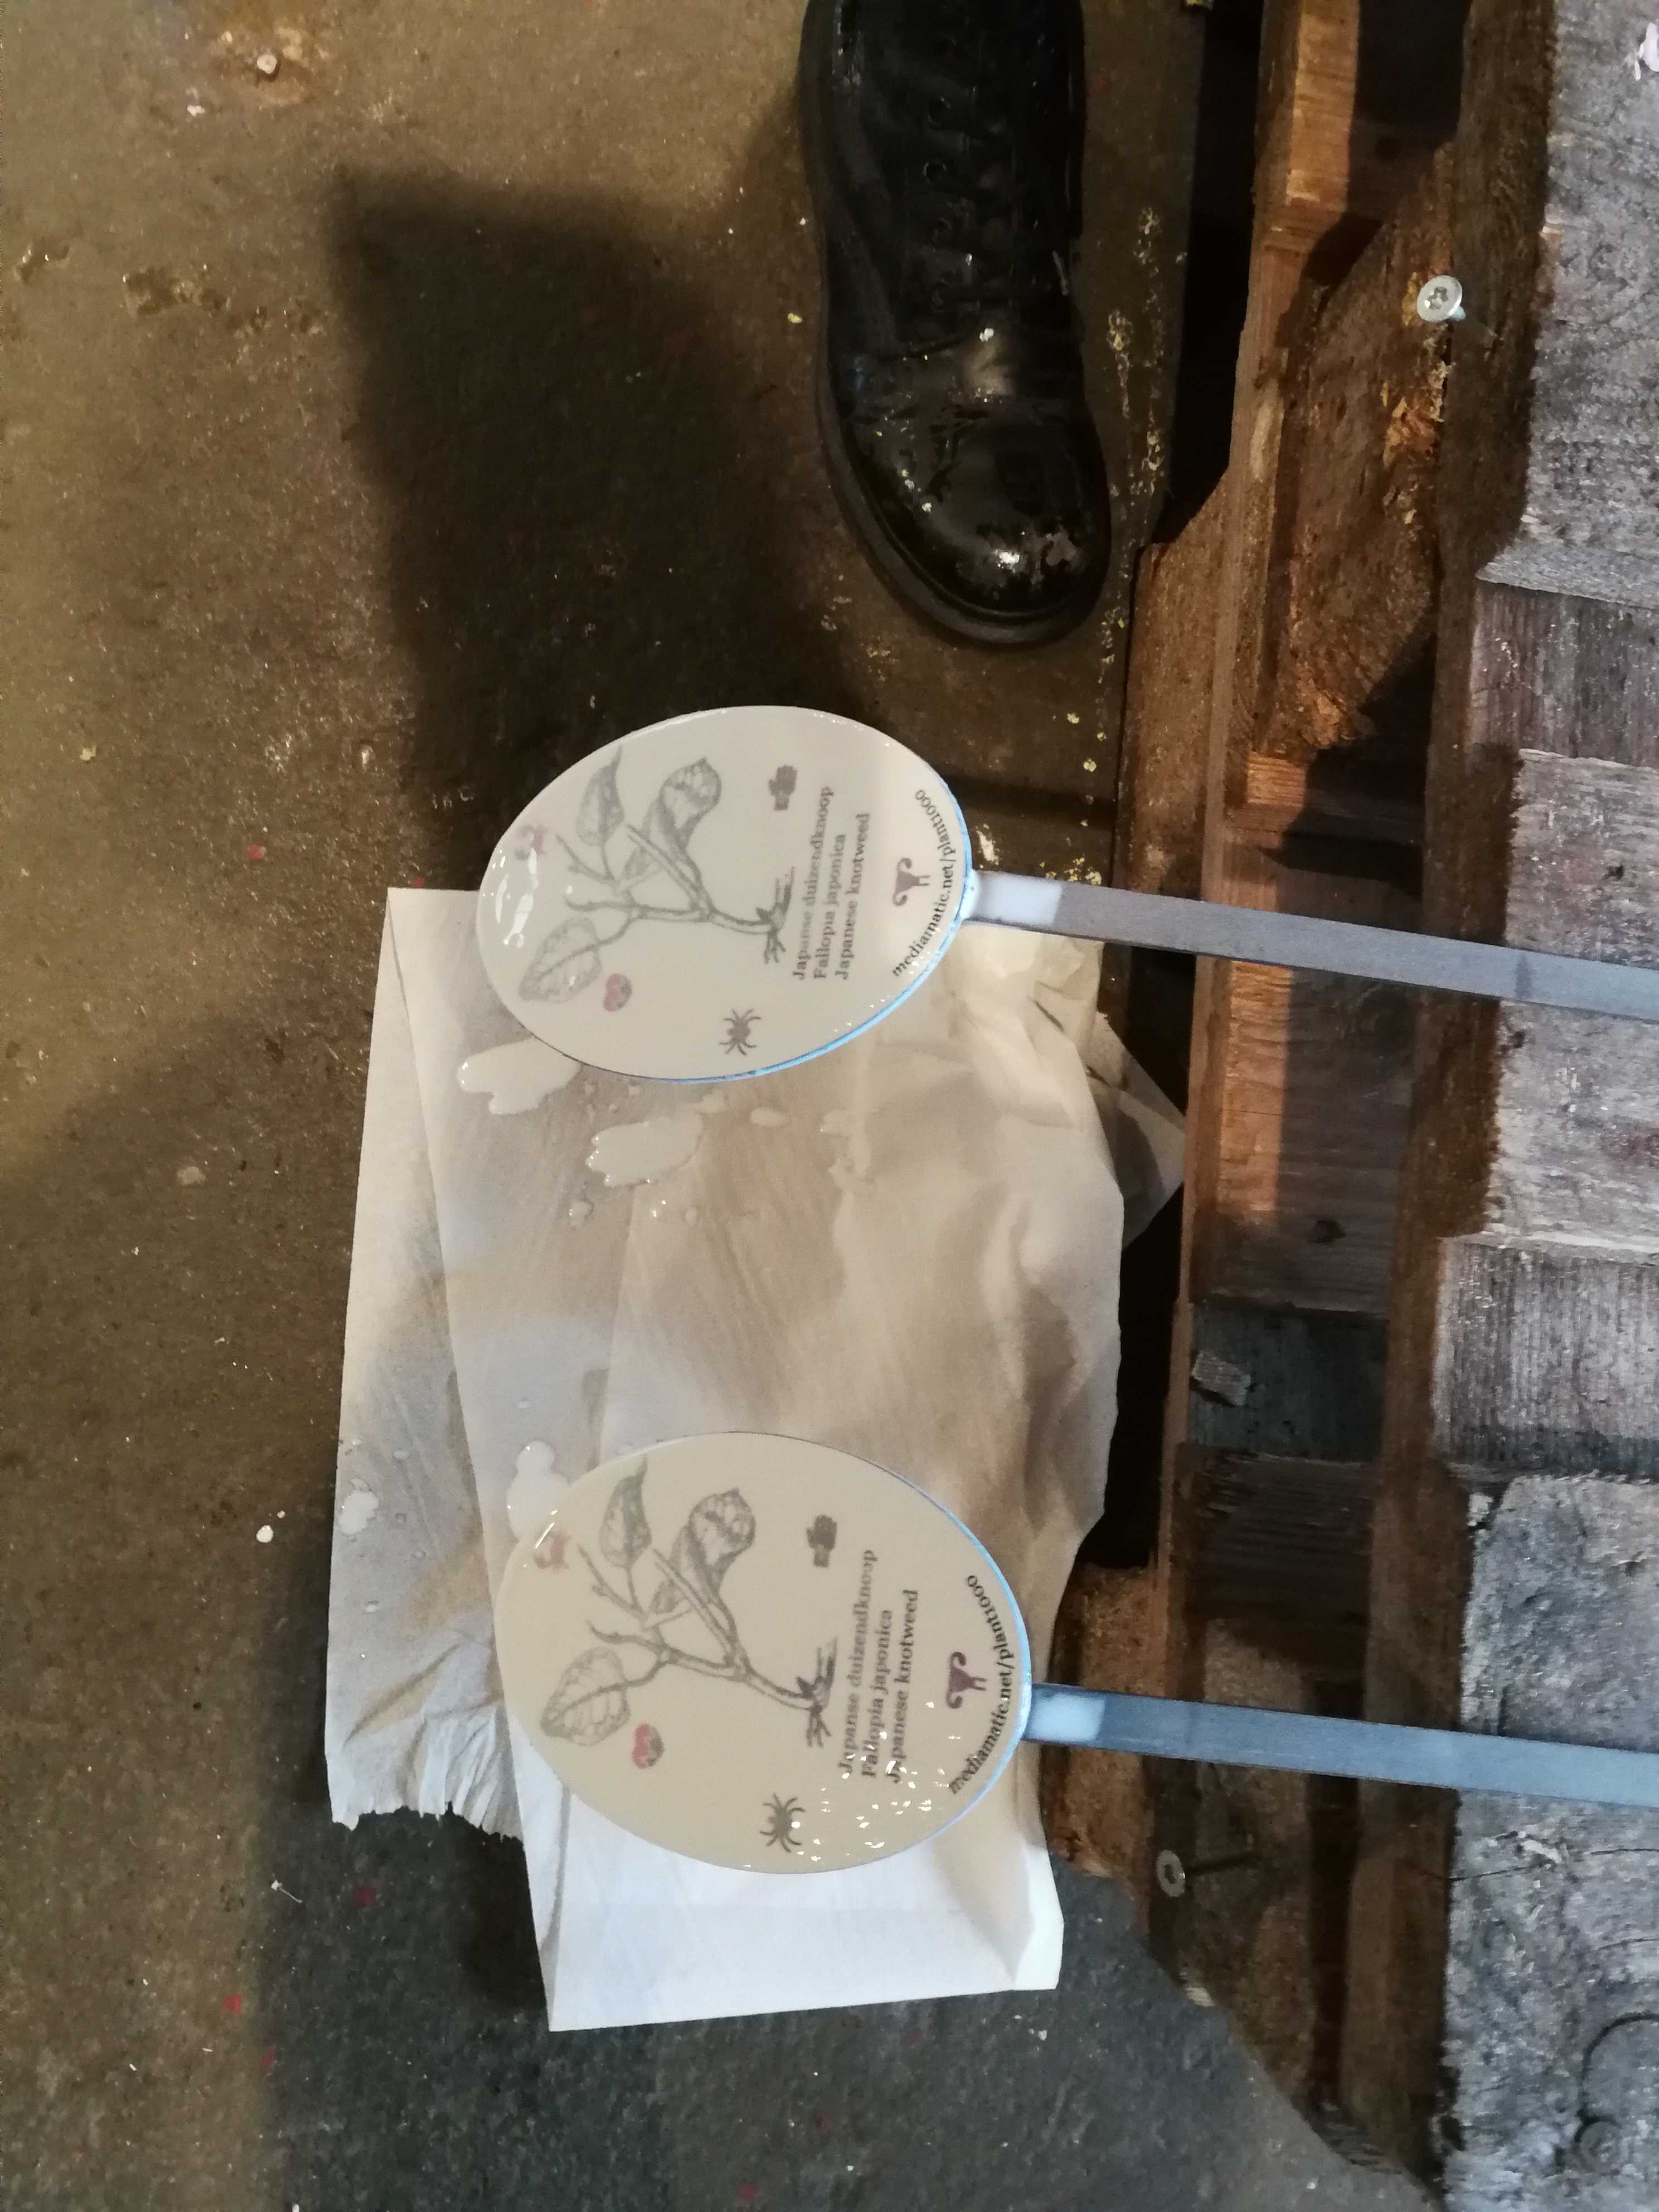
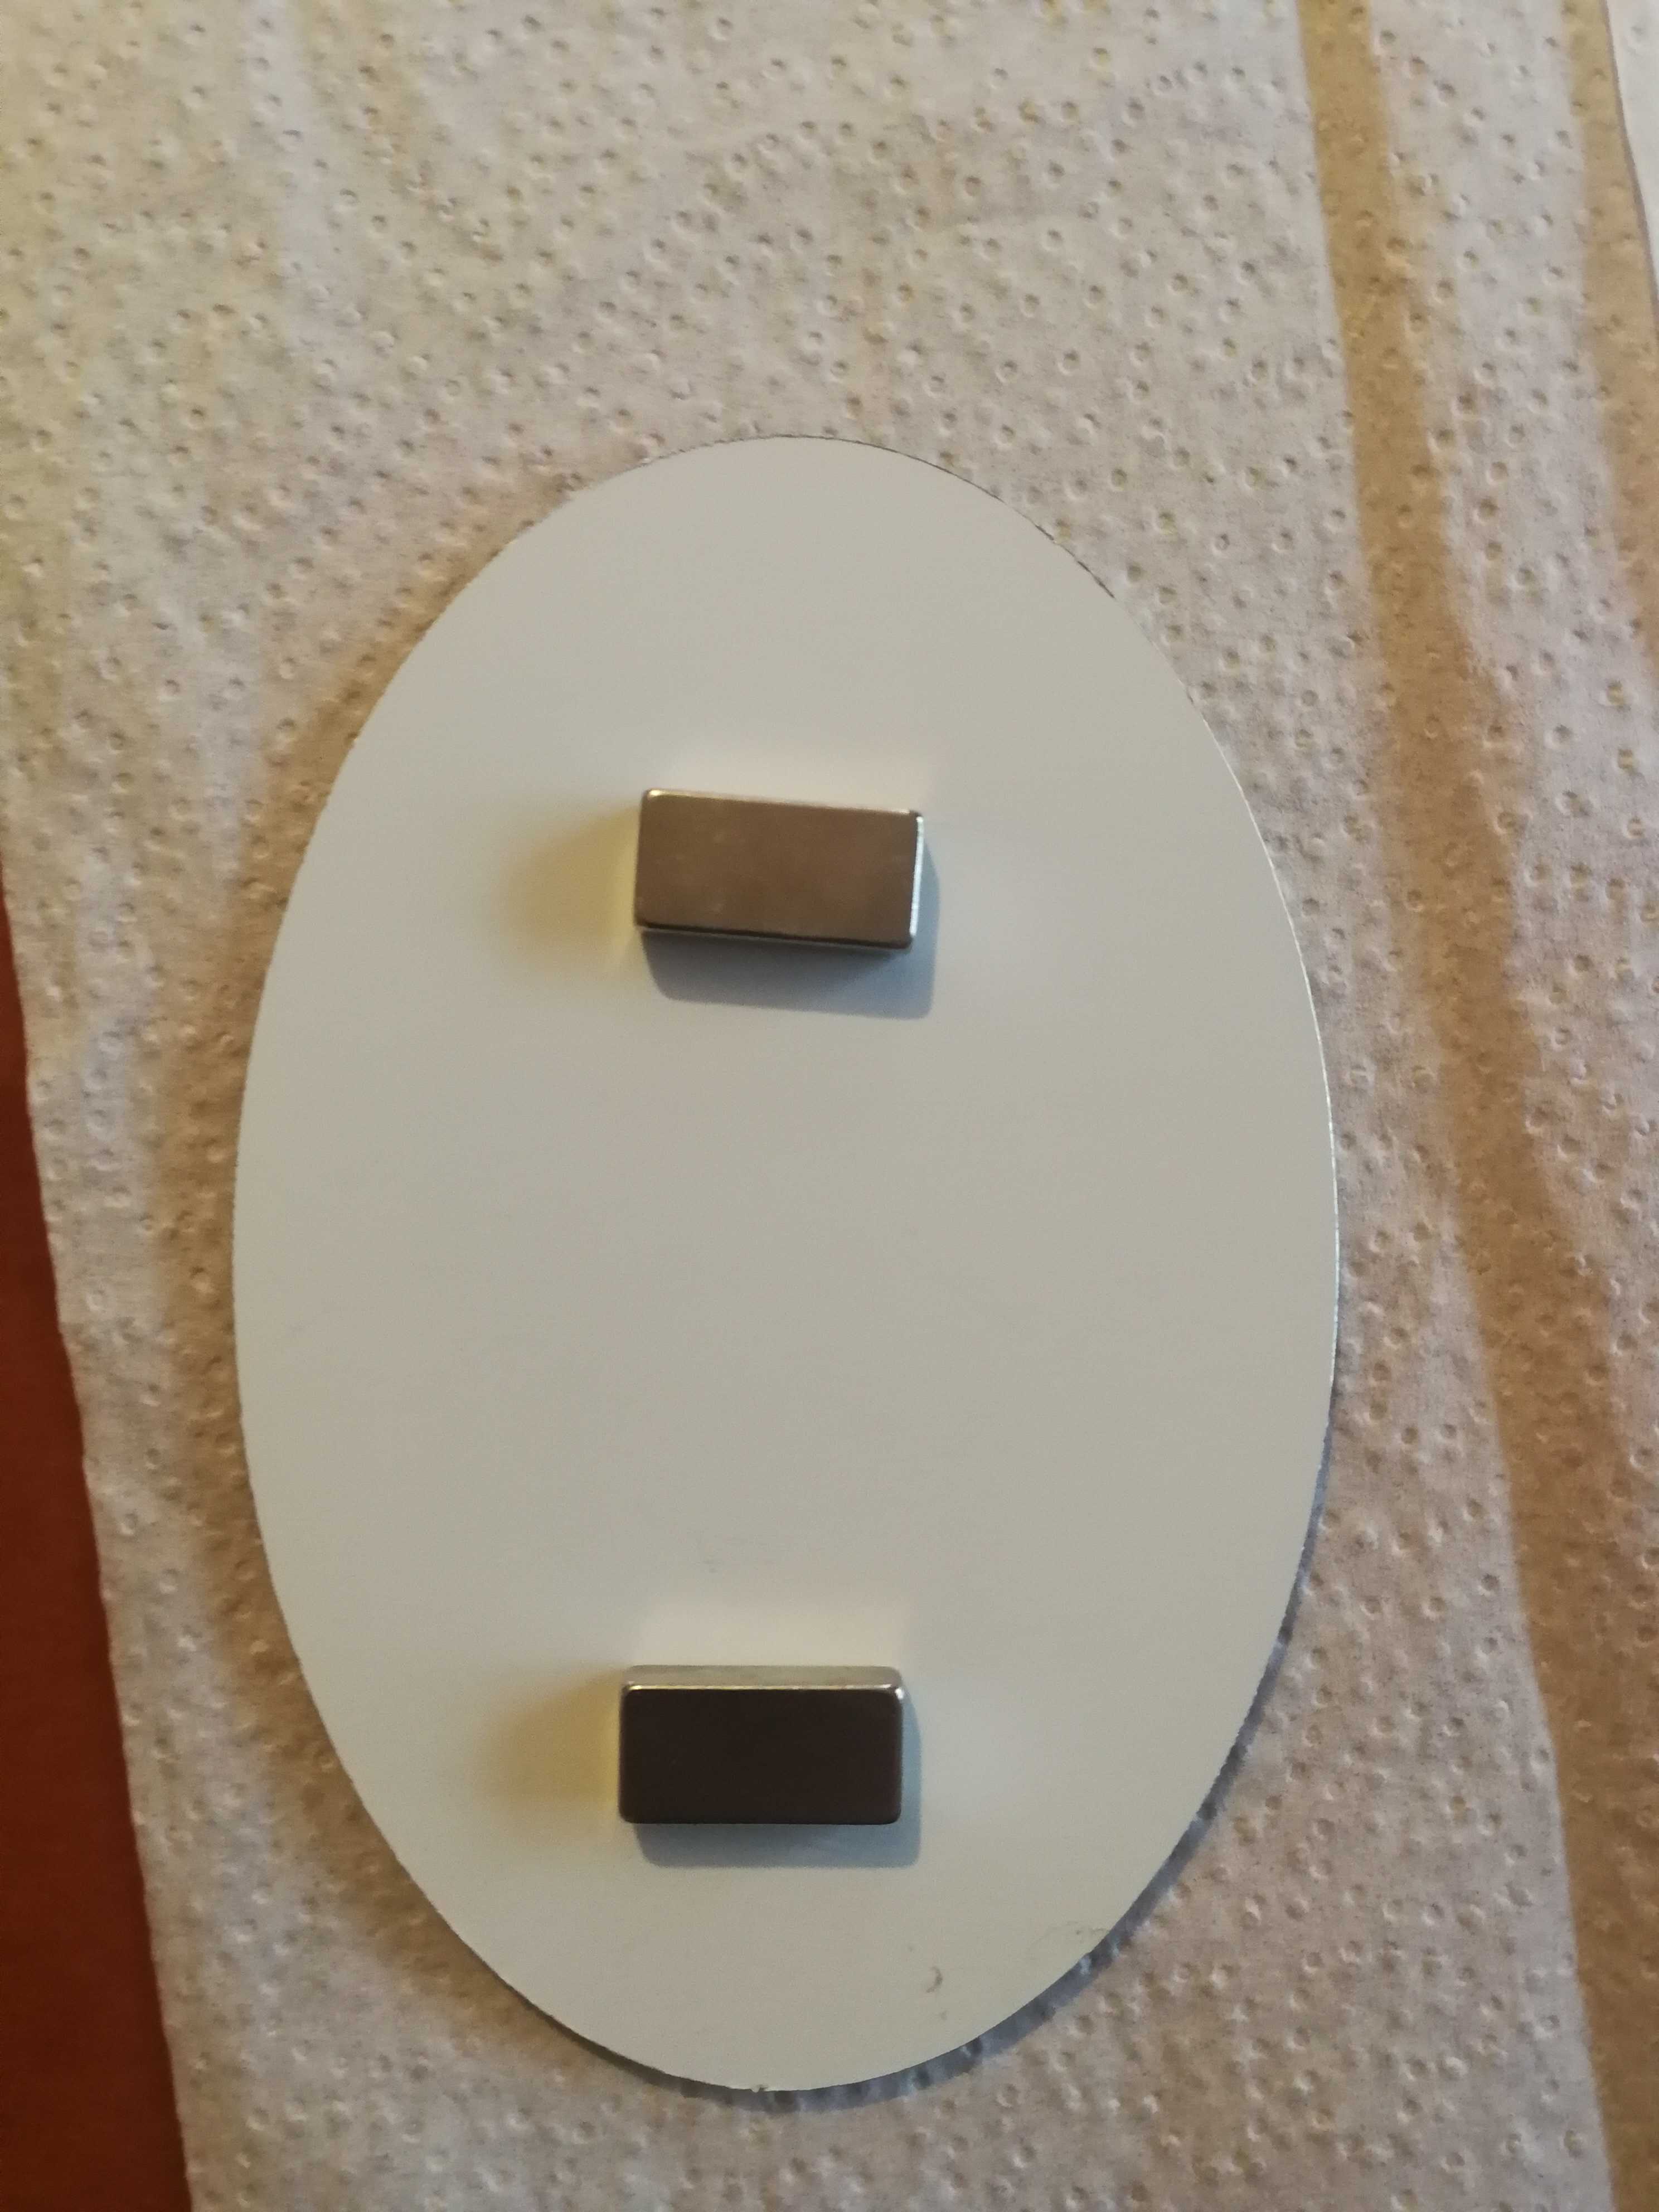
TEST 6
We want to use the same kind of signs that we are using in the grow beds to identify the plants growing in the aquaponics green house. Instead of using a stick and putting them into the soil, we will attach them with magnets onto the aquaponics steel 'sceleton'. A test has already been done and you can find the result in the project room.
These are the next steps that need to be done:
- Talking to the people that are working in the Aquaponics and asking them where the signs should hang. -> We don't want them to be in the way of their work.
- Making a stencil out of cardboard. (like the one for the sticks) This will make it easier to hold the magnets in place when gluing them. (Important: Make sure that all the surfaces are fat-free before gluing)
- Finding out more about the different poles of the magnets. (Think about what would happen when you store them all together in a box)
- The magnetic signs also need to be coated with epoxy