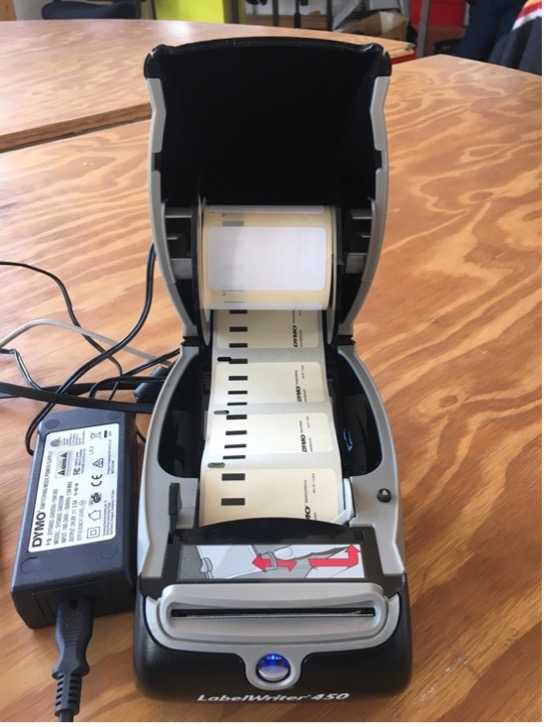
First you need to set up the printer. Connect the black cable to the plug point and the grey cable to the USB port of the laptop/PC.
First you need to set up the printer. Connect the black cable to the plug point and the grey cable to the USB port of the laptop/PC.
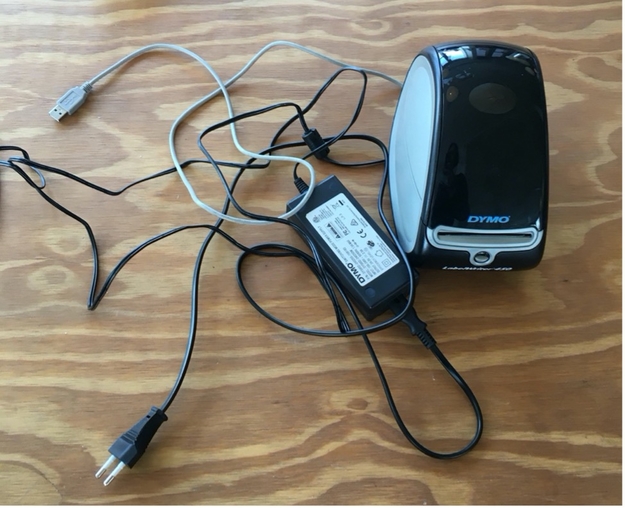
Load the printer with the roll of labels. The labels should be facing downwards. Feed the end of the roll into the seam where the labels will go.
(To test that the labels are inserted correctly, press the blue button on the front and the machine will test print one label)
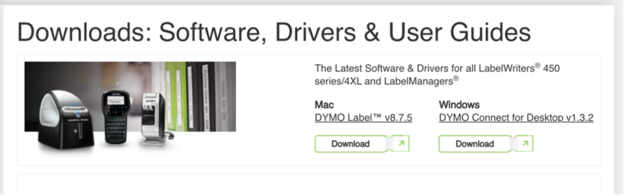
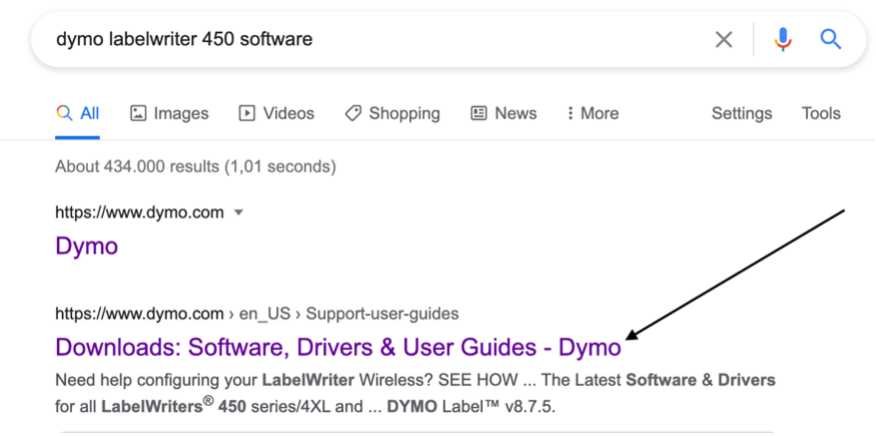
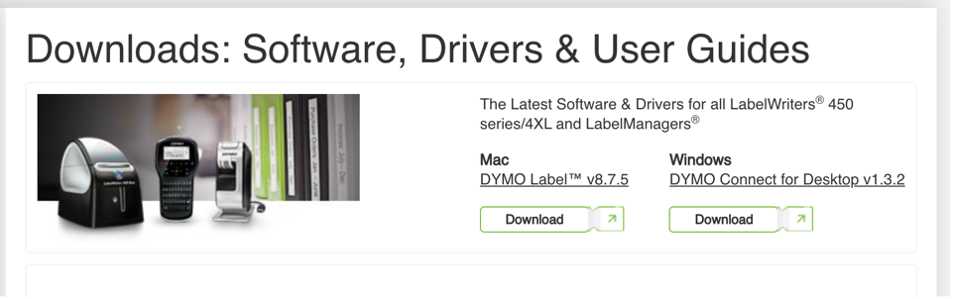
Download the printer driver software - Dymo LabelWriter 450.
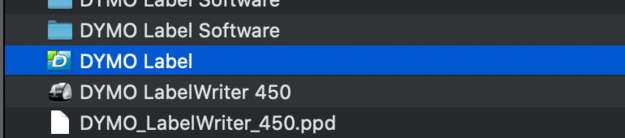
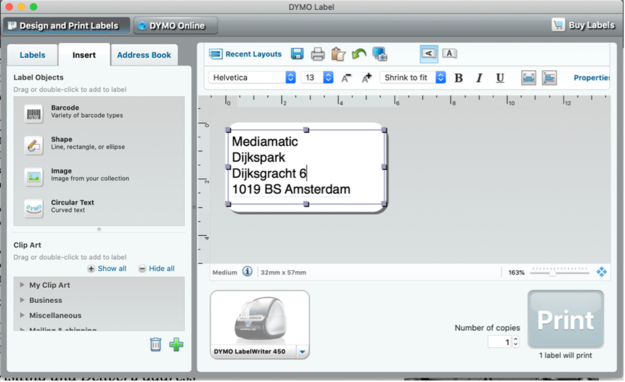
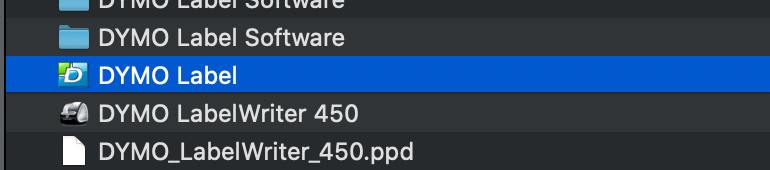
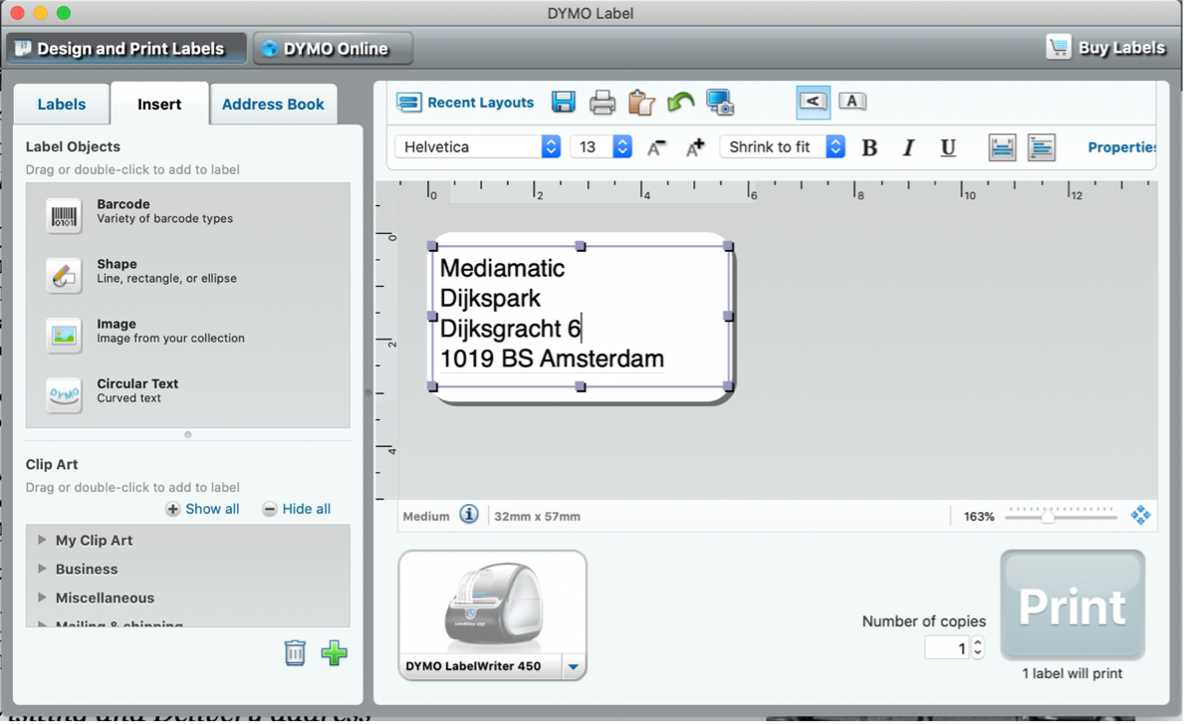
Open the ‘DYMO Label’ programme.
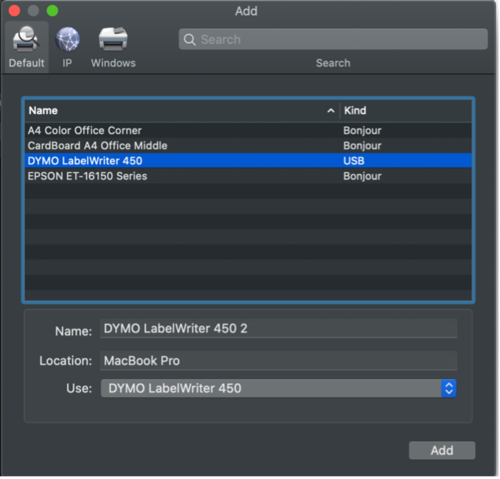
The printer should be installed to your list of printers by downloading the software. If not, then add it manually in System Preferences.
To design the labels:
First check that the labels on the roll you are using correspond with the blank label in the programme. You can select the correct size from the list under the tab ‘labels.’
Then there are two scenarios:
(1) You want to manually design one or several labels for printing, changing the information for each label.
(2) You want to create a template so you can print lots of information in the same format (eg. for mailing out scent kits for Odorama or labelling smells in the Aroma Lab).
Scenario 1:
Once you have selected the correct size label, look at the tab ‘insert.’ Here you will find tools to insert text boxes, shapes, barcodes etc. Customise your label. When it is ready, click print.
Scenario 2:
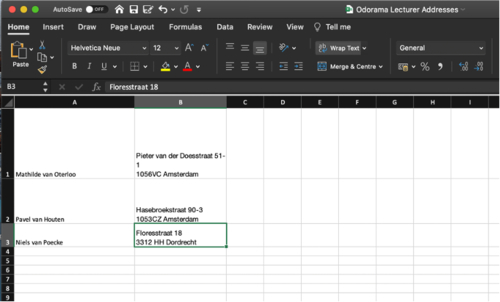
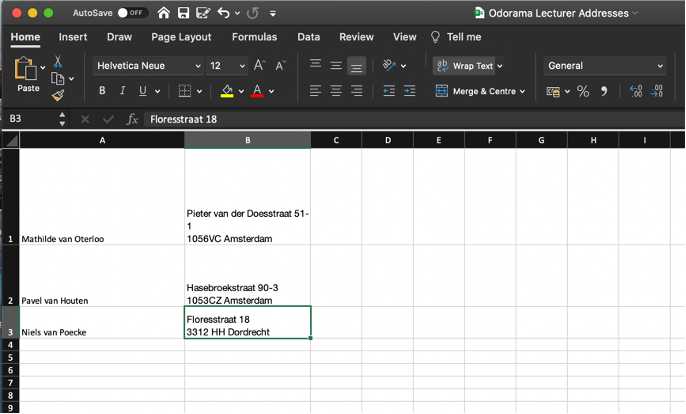
For this scenario, you first need to have the label information organised in a spreadsheet. As you can see from the example, the different categories of information are organised into columns.
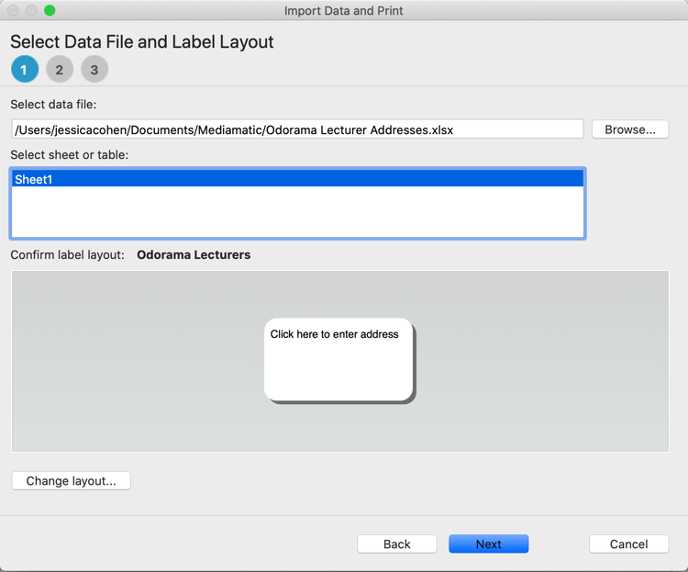
To create the template click File -> Import Data and Print -> New.
Select the excel file, and then the sheet within the file containing the information. Click Next.
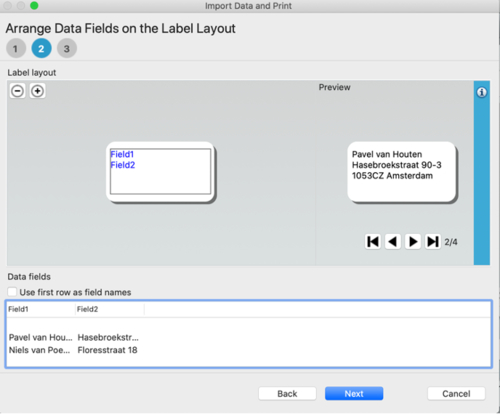
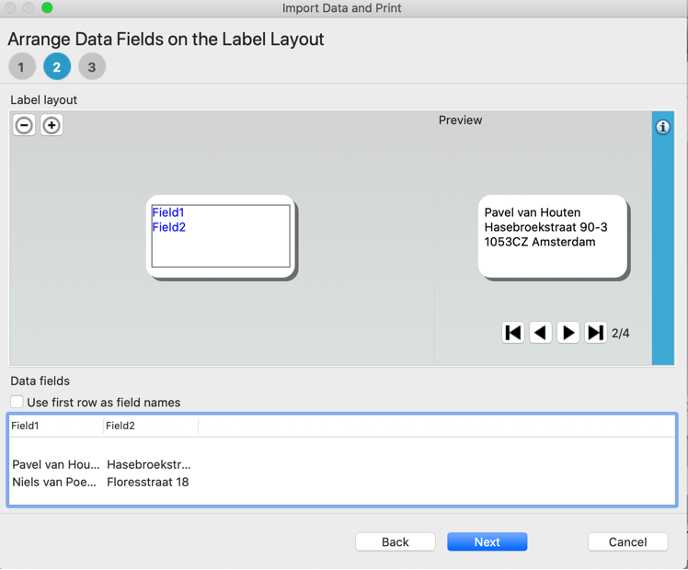
In this screen you can drag the fields representing the different columns onto your label template, and you can see how the label will look in the preview section. Click Next.
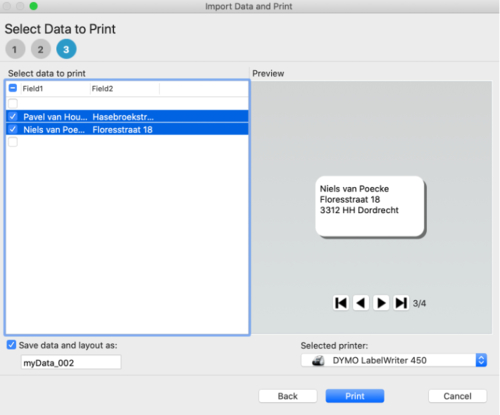
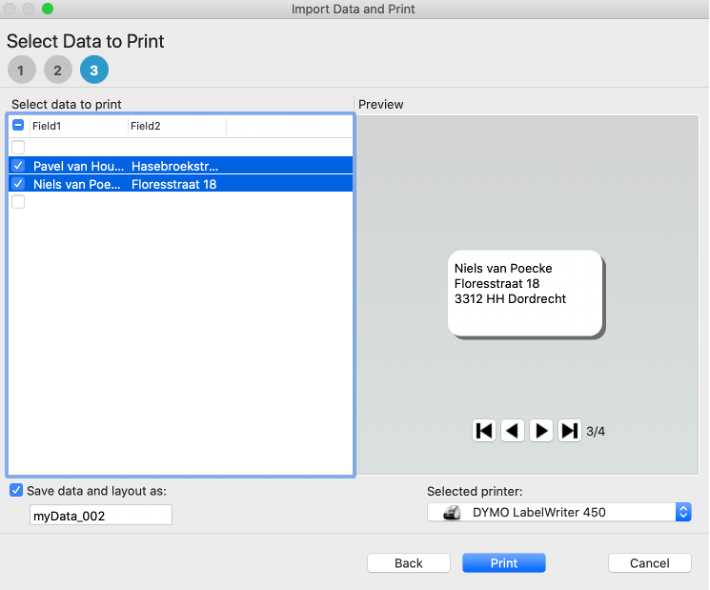
In the final screen, select the information you want to print, deselect any rows with empty fields. Sometimes the software will add these empty rows. Then click Print.


