
General tips
- IBCs can be easily bought second hand, through specialized sellers, or on Marktplaats. We bought them from Blom vatenhandel, as they also clean the containers for you.
- The nice thing about working with IBCs is that it is very easy to find adapting pieces.
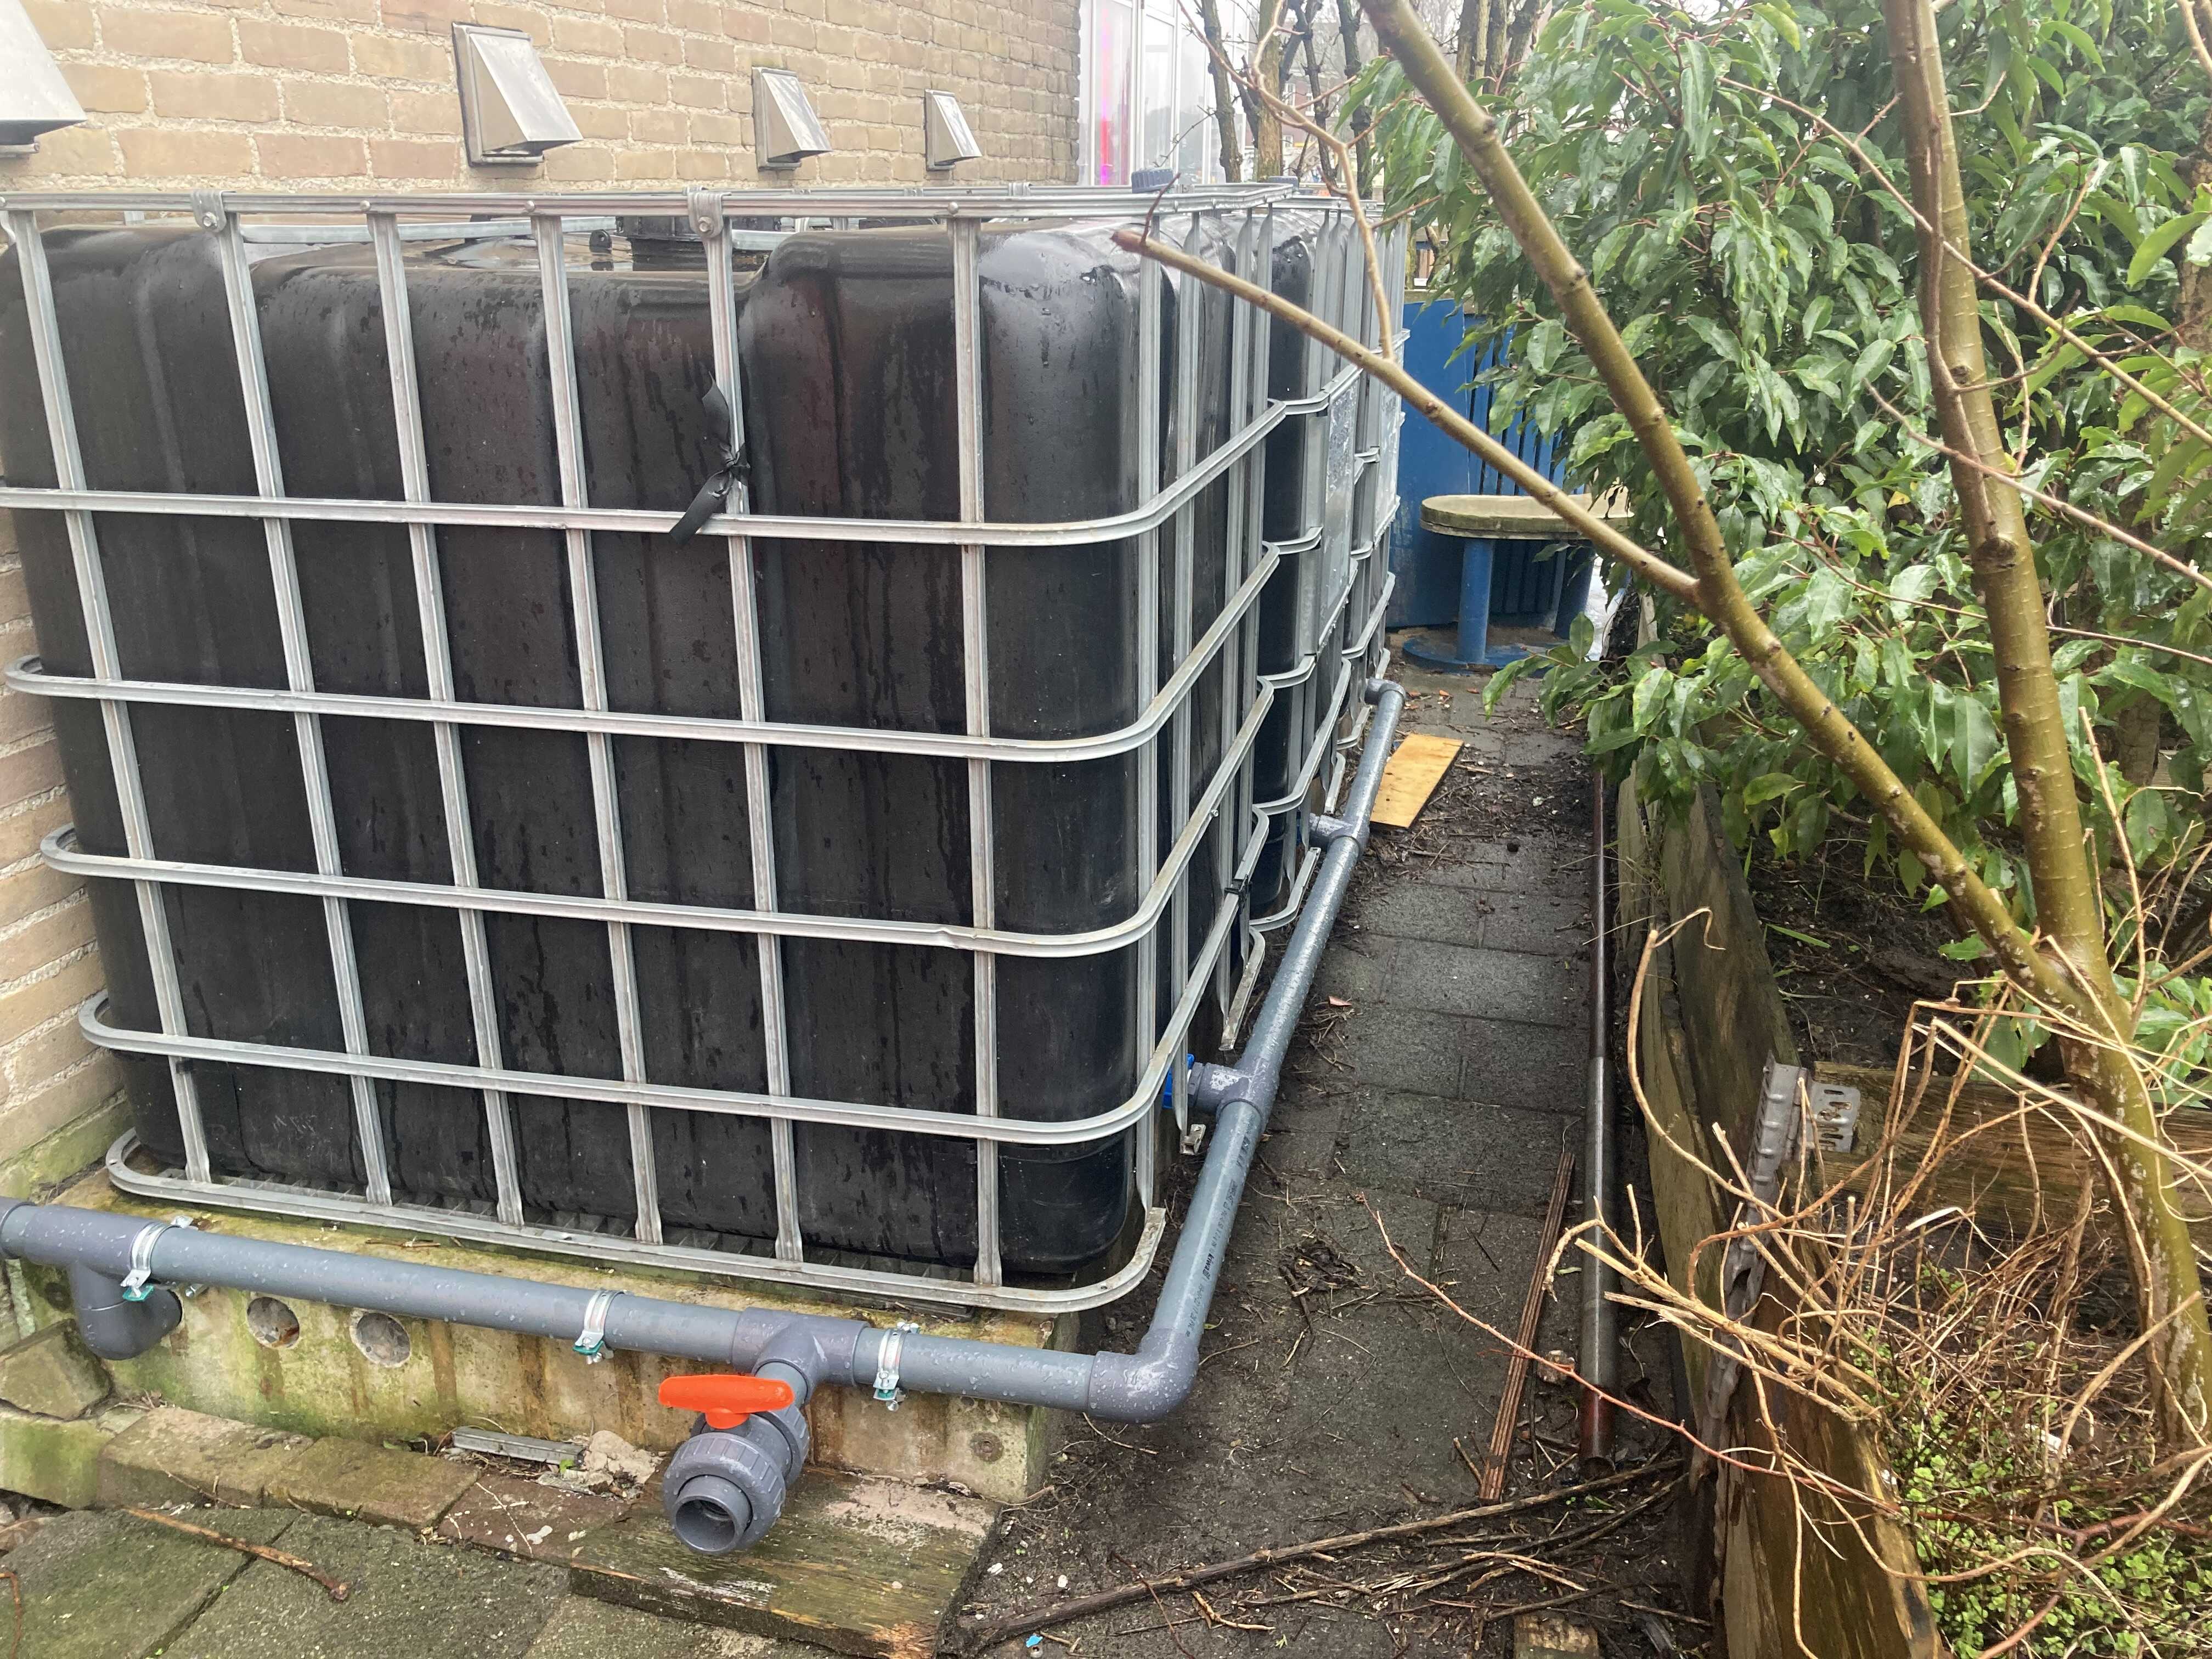
- IBC containers can be connected easily to each other through the existing tap at the bottom of the container. When connected this way, you create ‘communicating containers’, which means that all the containers fill up at the same time, instead of one after the other.
- You can connect IBCs horizontally, like shown in the picture. However you can also stack them 2 or 3 high. When stacking them 3 high, it is important to have a level concrete foundation.
- You can work with PVC pipes or with tyleen. Tyleen is more flexible than PVC and therefore more resistant to frost. This is why we decided to mostly work with tyleen.
- When using pvc it is important to use some sandpaper to rough up the surface of the pipe before you glue pieces together. This ensures that the pieces stick well together. PVC glue dries quickly so make sure you know how you want the pieces to be glued together.
- When ordering PVC or Tyleen it is always smart to buy a couple of extra straight connection pieces (in Dutch they are called a ‘sok’). When you make a cutting mistake or your pipe is not as long as you thought, you can fix it with this piece.
Which tools do you need?
- Holedrill, metal/pvc saw, coarse sandpaper, pvc glue (unless you decide to use tyleen), optional: drill to attach the pipes to the wall with brackets.
How to build
- A rainwater storage system logically consists of an inflow, vents, an overflow and an outflow. With these core elements, you can make the system as simple or complicated as you want. We will stick to a relatively simple execution.
Inflow
- Starting with the inflow, you should make sure the water flowing in is as clean as possible. We have a ‘leafeater’ (bladscheider) in the gutter as well as a finer leafeater that will connect to the rainpipe, this will make sure that no big leaves and particles can build up in the pipes, which will contaminate and eventually block the water.
- You can decide to put a winterstop in your system, which will prevent the water from entering the system and damaging the material when it is freezing.
- We found some references that recommend using a first flush diverter. This element diverts the first volume of rainwater away from the storage, as it is usually dirtier. In practice it turns out to be difficult to determine what the volume of such a first flush should be in order to be effective and not waste water, and it also adds an extra element to our system which means extra maintenance and chance of failing.
- You can buy special connecting pieces called ‘Vulautomaten’ that you add in the existing rainpipe to divert the water flow from the pipe into your system. These pieces usually also close once the rainwater storage container is full, so new water cannot enter. You do not have to use such a piece necessarily. You can also saw through the existing rainpipe and simply connect the rainpipe to a piece of pvc or tyleen directly.
Venting
- Venting: Vents are necessary so that a vacuum situation does not occur during a rain event. Vent and overflows need to be equipped with a screen or other device to prevent entry of mosquitoes and small animals. We made a simple vent with a ‘kneldoorvoer’ at the top of our tank with some gauze fabric to prevent mosquitoes from entering. It is important to note that the vent cannot function as the overflow. The vent needs to be higher on the tank than the overflow.
Overflow
- The overflow will direct the water out of the tank once it is full. The height of the overflow therefore determines to which point the tank will be filled with water. It is important that the size of the overflow and the inflow pipes are the same. The overflow can be directed back into the rainpipe, into your garden (make sure it is not too close to a building), or into a pond or another container.
Outflow
- An outflow can be as simple as a tap that you can use to fill your watering can. For more convenience we have chosen to use a water pump (hydrofoorpomp), so we can water the garden with a garden hose.
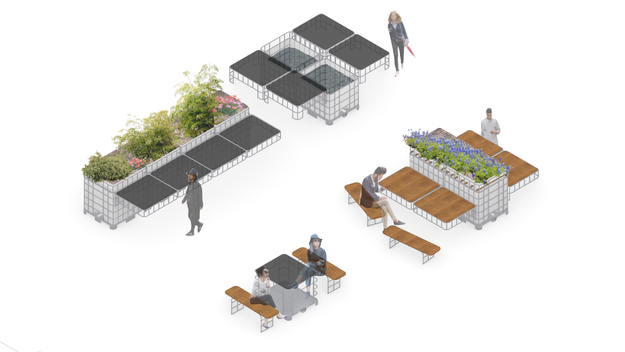
IBC furniture
IBCs are not the most appealing to the eye, but with a little bit of imagination they can be turned into an asset for any garden. See below some ideas of my colleague Jishuang.
Our design
Our first rain water storage consists of 3 IBC containers that are horizontally connected and placed on top of a concrete box that can store an extra 3000L of water. In total we can store 6000L of water that we catch from the roof of our main building. We can extract the rainwater from the underground box with a water pump. Through this link you can see which materials we used.
